Sunday, September 25, 2011

Hot Fudge Cupcakes with Peanut Butter Frosting

Are you sitting down?  You will need to be when you see these decadent little beauties…so trust me…please, sit down.  Are you ready?  Drum roll please…

Hot Fudge Cupcakes with Peanut Butter Frosting

Have you ever seen anything that knocked the breath out of you quite this much?  When I first saw the recipe for them on the Pioneer Woman’s Tasty Kitchen site, my pulse and breathing quickened and I KNEW I had to make these.  My two favorite combinations in the universe are chocolate and coffee AND chocolate and peanut butter (there seems to be a chocolate theme…hmmm…I shall need to consult my shrink…or maybe my nutritionist…about this).  When I saw the mound of peanut butter with that oh so enticing drizzle of hot fudge, I thought I had finally attained nirvana.  So I made them.  And I loved them.  And I am tempted to go into the kitchen and make them again.  I shall try to refrain.  My butt will thank me.

I did make them slightly differently than the original recipe, so here is what I did.  You can check out the original at the link above.

Ingredients
Cupcakes
1 Egg
¾ Cup brown sugar
½ Cup milk
½ Cup, plus 1 Tablespoon heavy cream
½ Cup butter, melted
1 Teaspoon vanilla extract
2 Tablespoons sour cream
1 1/8 Cup flour
¼ Cup cocoa powder
1 ¼ Teaspoon baking soda
½ Teaspoon salt
¼ Cup hot fudge (recipe below)

Frosting
½ Cup butter, softened
2/3 Cup peanut butter
3 Cups powdered sugar (you may need more depending on consistency)
1 Tablespoon milk (you will probably need more on hand to make it the right consistency, I did)
1 Teaspoon vanilla extract
1 Pinch salt

Hot Fudge
1 Cup sugar
1 Cup cocoa powder
1 Pinch salt
2 Tablespoons flour
1 Cup hot milk
1 Tablespoon butter
1 Teaspoon vanilla extract

Step 1
The first thing you will need to do is make the hot fudge.  The original is written using a double boiler, so that is how I started.  But I stirred and stirred for a very long time and it did not thicken, so I ended up over direct, but low, heat.  You may have better luck with the double boiler than I did, so feel free to try that first if you would like.  This is just to warn you, you may need to switch over to a pot over low heat if it’s not thickening.


Combine the sugar, cocoa, salt and flour in a bowl over the double boiler (or in a pot over low heat).  Heat the milk in a saucepan until it is scalding or you can microwave it until it is hot.  Gradually add the milk to the chocolate mixture and stir constantly until the mixture thickens.  It will probably take about 5 minutes, or 15 if you are like me…but it should have taken closer to five.  When it is your desired thickness, remove it from the heat and stir in the butter and vanilla.  Then let it begin cooling while you start the cupcakes.

Step 2
Preheat the oven to 350 degrees.  Line a muffin tin (one recipe will make 12 cupcakes) with cupcake papers.

Step 3
Now it is truly cupcake time…step 2 was just to fake you out.  Combine the egg and brown sugar until they are smooth. 


Add the milk, cream, melted butter and vanilla and mix until they are combined. 


Stir in the sour cream.  Now add all the dry ingredients and mix until they have just combined.  An overmixed batter will result in a tough cupcake…and no one likes a tough cupcake. J  Add the hot fudge and stir it into the batter by hand.


Step 4
Fill the cupcake liners with ¼ cup of batter (as you can see, I am not adverse to using my fingers, but I would imagine a spoon is much more acceptable) and bake them for 15 – 18 minutes.  Let them cool and it’s time to make the frosting.


Step 5
Cream the peanut butter and butter together until they are fluffy…about 3 – 5 minutes.  Add the powdered sugar and then gradually add the milk and vanilla extract.  Add the pinch of salt and beat until it is fluffy.  If the frosting is too thick, add more milk; if the frosting is too thin, add some more powdered sugar.

Step 6
I decided to stuff the cupcakes with hot fudge instead of frosting…the thought of biting into chewy chocolate was just too tempting!  So I filled my pastry decorating apparatus with fudge and inserted the tip into the cupcake and just added a little fudge to the center. 


Then I frosted the cupcakes with the peanut butter frosting...


 and finished by drizzling the hot fudge on top.


I know there are a lot of steps to these cupcakes, but they really were not that difficult and the results were oh so delicious!  Hmm...I may need to get the oven preheating ...just in case...

Thursday, September 8, 2011

Pumpkin Pecan Waffles

Pumpkin Pecan Waffles


Central Pennsylvania is being pummeled with the worst flood in YEARS, perhaps ever.  I am praying for all those being affected by the storm; please use caution during this weather! 

Since I can’t do anything to stop the rain, I decided to make the most of the cool, wet morning stuck in my home by making Pumpkin Pecan Waffles.  I had some pumpkin puree and pecans in my freezer and thought this would be the perfect way to make a dreary day special.  They had wonderful flavor, were soft and fragrant, and crunched with the nutty pecans.  Some syrup and butter on top and they made for the perfect breakfast treat!

Ingredients
1 ½ Cups pumpkin puree
2 ¼ Cups flour
1 Teaspoon baking powder
½ Teaspoon baking soda
1 Teaspoon salt
2 ½ Teaspoons pumpkin pie spice
½ Cup packed light brown sugar
2 Eggs, separated
¼ Cup sour cream
1 Cup buttermilk
4 Tablespoons butter, melted
¼ Cup pecans, chopped
Syrup

Step 1
Get your waffle iron preheating.  Chop your pecans.  Now get a cup of coffee for yourself because that was just so dag gone exhausting.

Step 2


Combine the flour, baking powder, baking soda, salt and pumpkin pie spice.  In a separate bowl whisk the brown sugar and egg yolks.  Then add the pumpkin puree, sour cream and buttermilk (if you don't have buttermilk, just put 1 Tablespoon of white vinegar in your measuring cup and fill with milk to 1 cup).  Whisk in the melted butter.  Now add the dry ingredients and stir with a spatula until just combined (it will be lumpy).  Beat the egg whites with a mixer until they are stiff and then gently fold them into your batter.

Step 3


If your waffle iron is not nonstick, grease it with cooking spray or butter.  Pour the batter onto the waffle iron and sprinkle some pecans on top.  Cook the waffles until they are golden.  Then keep finished waffles warm in the oven (set to “Warm”) until you are finished.  Serve with butter and syrup!

Thursday, September 1, 2011

Spicy Corn Chowder

Spicy Corn Chowder (adapted from the Neelys)


Ah summer…slipping away so quickly.  The nights are crisp, the days pleasant and Labor Day is almost upon us.  How do you come and go with such ease?  We wish you would stay longer, but we will celebrate you while we still can. 

I believe I have mentioned my obsession with corn.  The end of summer, means the end of corn on the cob and that makes me sad.  But even when the frigid wind is howling outside my kitchen window, I will still be able to make this soup and remember the warm, still-sunny evenings when I made it…and I will rest in the fact that the seasons will once again change and summer WILL come around again!

Ingredients
7 Slices bacon, chopped
1 Vidalia onion, diced
1 Red bell pepper, diced
1 Habanero, cleaned and minced (use a jalapeno if you can’t handle the heat J)
3 Cloves garlic, minced
¼ Cup flour
4 Cups chicken stock (I like unsalted)
2 Large red potatoes, diced into ¾ inch cubes
1 Cup fat free half and half (or you can use heavy cream)
16 Ounces frozen corn
¼ Teaspoon cayenne
1 Bay leaf
3 Tablespoons olive oil, divided
Salt and pepper

Step 1


I love roasting vegetables because it adds so much flavor to them naturally.  When I made this, I decided to try roasting the corn kernels and it worked!  You could obviously use corn still on the cob and grill it for even more flavor if you are so inclined…but this is what I did:  I set the oven to 375 degrees.  Then I placed the corn on a baking pan and drizzled 1 Tablespoon of olive oil on top.  I mixed the corn around and then arranged it in a single layer.  The corn roasted in the oven for 10 minutes and then I stirred it.  It roasted for another 6 – 8 minutes (until it had a little color, but hadn’t lost all of its moisture).  Then I let it cool while I worked.  But while the corn is roasting, you can start the bacon and prep the veggies in Step 2…

Step 2


Get a heavy bottomed pot heating on the stove over medium-high heat.  Chop the bacon into ½ inch “lardons” (a fancy French word for small pieces of bacon J) and place them in the pot.  While then begin to brown, you can begin prepping the veggies; just make sure you check on the bacon and stir it occasionally.  When it is browned, remove the pan from the heat.  Dice the Vidalia onion.  Then clean out the seeds and veins from the bell pepper and dice it.  Mince the garlic and small dice the red potatoes, without peeling them.  Finally, to prepare either the habanero or the jalapeno, don some gloves and remove the seeds and veins before mincing.  Whew!  At this point, the corn should be out and cooling and the bacon should be finished.  Remove the bacon to a plate covered with paper towels.  Leave 2 Tablespoons of bacon fat in the pot (discard the rest or save it…your call), add 2 Tablespoons of olive oil and proceed…

Step 3

Vegetables Sauteing


Flour at Blond Stage


Simmering after Water is Added

Reduce the heat to medium and add the onion and red bell pepper to the pot.  Add some salt and pepper and sauté the vegetables until they are tender (approximately 5 minutes).  Add the habanero or jalapeno and the garlic and sauté them for 1 minute.  Now stir in the flour until it is evenly distributed through the vegetables and has reached the “blond” stage (it will only take about 1 minute).  Stir in the chicken stock and potatoes and then cover the pot.  When the soup begins to simmer, reduce the heat to medium-low and let it simmer for 10 minutes, or until the potatoes are just becoming tender.

Step 4


It’s time to add the half and half, corn, cayenne and the bay leaf.  At this point, taste it and add salt and pepper to your own taste.  Then cover the pot and let the soup simmer for 15 more minutes.  Remove the bay leaf and serve the soup topped with some of the bacon.

Enjoy this ode to summer - all year long!

Monday, August 15, 2011

Perfect Potluck or Picnic Pastry

Key Lime Tarts


Picnics and potlucks…friends and family…stress over succulent selection (yes, I seem to be in an alliteration kind of mood!).  I love going to picnics because it always means a relaxed time with family and friends.  But I also get stressed because there are so many ways to go with choosing a dish to bring!  Even when we’re just talking dessert!  Do you bring a cake, a pie, cookies, petit fours?!  The stress of the selection!!!!  Lucky for me, I stumbled upon Paula Deen’s Key Lime Tarts recipe a couple of years ago and after just a few minor tweaks, it has easily become my go-to picnic and potluck sweet.  The tart lime flavor bursts in the mouth, but the creaminess from the cream cheese and the fluffiness of the whipped cream tame it to just the right level.  What makes it perfect for a picnic is that it is bite-sized, which means guests can try multiple desserts without the guilt!  A sampling of sweets = picnic perfection.

Ingredients

Crust
1 Package graham crackers
5 – 6 Tablespoons butter, melted

Filling
8 ounces cream cheese, softened
1 Egg
½ Cup sugar
1 Teaspoon lime zest
2½ Tablespoons key lime juice

Topping
½ Pint heavy whipping cream
Confectioner’s sugar
Lime zest

Step 1
Preheat the oven to 350 degrees.  A single recipe will make 24 tarts, but the recipe can be easily multiplied to make as many as you need.  Place mini cupcake wrappers in your mini muffin tins.  Save yourself some gray hairs and use the wrappers!  For the sake of the photos, I did not use them and they were a BEAST to get out in one piece!  So please learn from my mistake! J  Lightly spray the wrappers with cooking spray.

Step 2

Fine Cracker Crumbs

Adding Butter

Perfect Consistency

A food processor makes a graham cracker crust super simple, but if you don’t have one, you can just put the crackers in a plastic zip bag and crush them with a rolling pin.  I pulsed them in the processor until they were fine crumbs.  Then I melted the butter and poured the butter in until the crumbs would stick together when I pressed them.  It will take 5 – 6 tablespoons.  When it is perfect, place about a teaspoon of crust mixture into each muffin tin and pack it down.  When they are all pressed down, bake the crusts for 8 minutes.


Step 3

Key lime juice.  The first time I made a key lime pie, I bought a bag of key limes and juiced them by hand.  If you have never seen key limes, they are about the size of a ping pong ball and are a little tough to juice.  My hand was so cramped and tired by the time I had enough for the pie!  The second time, I bought a bag of key limes and made my husband juice them for me.  That was the last time we juiced key limes.  We discovered Nellie & Joe’s Key West Lime Juice and have never looked back.  If you aren’t hankering for your hand to look like a claw for an hour, do yourself a favor and pick up some Nellie & Joe’s.

The filling is really simple.  Go ahead and zest your lime so it’s ready to go.  Then just beat the cream cheese, egg, sugar, lime juice and zest until it is fluffy (about 3 minutes).  Fill your tart wrappers about 2/3 full with the filling mixture.  The tarts need to bake for 10 – 12 minutes, until the tarts are set.


Step 4


Let your tarts cool in the muffin tins or they will fall apart when you try to remove them.  When they are cool, whip the heavy whipping cream.  When it is almost whipped, add confectioner’s sugar to your own taste.  Then let it finish whipping.  You can pipe the freshly whipped cream onto your tarts using a pastry bag or a zipper plastic bag.  I like to top them with some lime zest, so people know what they will be eating before they even take a bite.  Plus, it just looks so darn pretty.


Keep them in the refrigerator until you are ready to eat them...or just eat them and don't worry about them making it to the fridge!  They're small, so they don't count in the calorie department, right? :-)

Monday, August 8, 2011

Caprese Turkey Burgers

Caprese Turkey Burgers


Tis the season for fresh tomatoes and basil…so I made me some Caprese Turkey Burgers!  I absolutely love the flavors in a Caprese Salad…the fresh juicy tomato, the slightly salty and oh so delicious fresh mozzarella, the bright taste of the basil and the sweet and tangy from balsamic vinegar make the perfect summer pairing!  I decided to take this perfect little salad and use it as a burger topping.  As per my usual, I used ground turkey, but this could certainly be made with ground beef or chicken and be equally delicious.  Here is what I did:

Ingredients

1 Pound ground turkey
2 Teaspoons Italian seasoning blend
3 Tablespoons balsamic vinegar
Salt and pepper

½ Cup balsamic vinegar
1 Tomato, sliced
Fresh mozzarella, sliced
Fresh basil
Buns

Step 1

I began by making a balsamic reduction, so I could drizzle it over my burgers after I assembled them.  I wanted to reduce the balsamic vinegar so that it would deepen the flavor while thickening it so it would stick beautifully to the burger.  I used ½ cup of balsamic vinegar, but feel free to use more and refrigerate the leftovers!  It’s great drizzled on all sorts of things – I have even drizzled it over roasted beets…YUM!  Anyway, back to the reduction.  Heat your balsamic vinegar over medium heat and let it simmer for about 10-15 minutes.  You will want to stir it occasionally to make sure it doesn’t burn.  It’s ready when it just begins to cling to a spoon when you pull it out of the reduction.  Then set it aside for later.

Step 2

Before we go to the burger making, we need to prep the ingredients.  Slice your mozzarella and tomato (approximately ¼ inch thick for each).  If your basil needs to be washed, go ahead and do that and then dry your leaves.

Step 3

We’re ready for the burgers!  Combine the ground turkey, Italian seasoning, balsamic vinegar, salt and pepper.  Mix the meat until it is just combined…over mixing will just result in tough burgers.  Form the meat into equal patties.  I formed them into six patties, but four would make lovely quarter-pound burgers.

Step 4

I cooked the burgers in a little olive oil in a sauté pan, but if you have a grill pan, please use it (and I will be jealous, but happy)!  That would be perfect for these summery burgers.  I cooked them over medium-high heat for five minutes on each side.

Step 5

It’s time to assemble the burgers!  Place your burger on the bottom half of the bun.  Put a slice of tomato and then a slice of mozzarella on top.  Then place a couple of fresh basil leaves on top.  Finally, drizzle some of your balsamic reduction over the sandwich and then top with the other half of the bun.

Buon appetito!

Monday, July 25, 2011

Five Year Anniversary Celebration

The Library, Myrtle Beach, South Carolina

Elegant, Classy Sign

When I created this blog, I wanted to use it to share my love of food through cooking AND eating!  I think Gusteau in the movie Ratatouille actually states it best when he says:


"Good food is like music you can taste, color you can smell.  There is excellence all around you.  You need only to be aware to stop and savor it."


As totally over dramatic as this sounds, I completely agree with it!  When I taste something truly excellent, my eyes involuntarily close and the flavors just create fireworks on my taste buds that transfer into images in my mind.  This incredible firework experience does not happen too often, but when it does, I need to talk about it.  So here is me talking about the wonderful experience at The Library in Myrtle Beach, South Carolina.:-)


We began our search for a place to celebrate our five year anniversary about a month before our trip (if you recall, I love to pester about restaurant picks for special occasions!).  We quickly came upon a restaurant called The Library.  Now, I'm a librarian, so we were both immediately intrigued.  We clicked on the link, rather expecting the menu to be less than interesting, but we were pleasantly surprised.  Immediately we noticed both steak tartare AND beef carpaccio were on the appetizer menu!  These are our absolute favorite appetizers!  As we continued reading, we noticed they seemed to specialize in a French table side preparation, which we had yet to experience.  We searched no longer.  The Library was the place to celebrate.  We called for reservations and left for Myrtle Beach, eager for the restaurant experience.  It did NOT disappoint.


Bookshelves with Beautiful Old Books Lined the Walls

We were seated at a beautifully set table, surrounded by book cases.  The atmosphere was pleasantly quiet (not "can we even talk" quiet, but a nice, pleasant conversation kind of quiet).  The waiter and the owner came over at different times to explain the various drink and food specials as well as to answer our questions...more on our questions later...but they were extremely helpful and very informative.


Blueberry Martini

After hearing the drink specials, I ordered a blueberry martini that came with champagne marinated blueberries.  The drink was absolutely delicious - crisp, fruity and refreshing.


The Menu on the Lovely Table Setting

I loved the menu presentation.  The menu is the scroll that is tied and placed on the plate.  We perused the menus and noticed they served Sweetbreads in a Cognac Sauce as a table side entree.  I remembered watching an Iron Chef America that featured Sweetbreads as the secret ingredient but could not remember what part of the cow they came from.  When the owner came around to ask if we had questions, Tim asked him about the Sweetbreads.  The man looked at us, smiled, and said, "If I tell you what they are, you won't order them, but they are delicious."  Tim said, "Try me."  The man proceeded to explain that they can come from either the thyroid gland or the pancreas, but that the thyroid gland is difficult to come by, so they use pancreas.  He also said he thought they tasted a lot like veal.  Tim decided that was the entree for him and I was excited to try it at as well!  But, I get ahead of myself...appetizers first!


Steak Tartare

It was absolutely perfect.  It was tangy with just the right amount of seasonings.  My mouth is watering remembering that perfect raw ground Filet Mignon spread onto the garlic toasts.  Yum.  That's all I can say.  Yum.  If you've never had it, and ever see it on a menu, please try it!  It is completely delicious.


Beef Carpaccio

Beef carpaccio is a raw, thinly shaved beef, usually served with extra virgin olive oil and Parmesan cheese on top.  That is precisely what this was and exactly what I think of as a great carpaccio.  Too often I have had it smothered in a horseradish sauce or covered in overpowering onion.  Please leave it simple - the beef speaks for itself!  The Library executed this dish perfectly.

We had a lovely salad course after our appetizers that were actually accompanied with chilled forks!  That was a first for me!  The salads were wonderful as well, but I neglected to take a picture.  Unfortunately, we devoured them too quickly for a photo shoot.


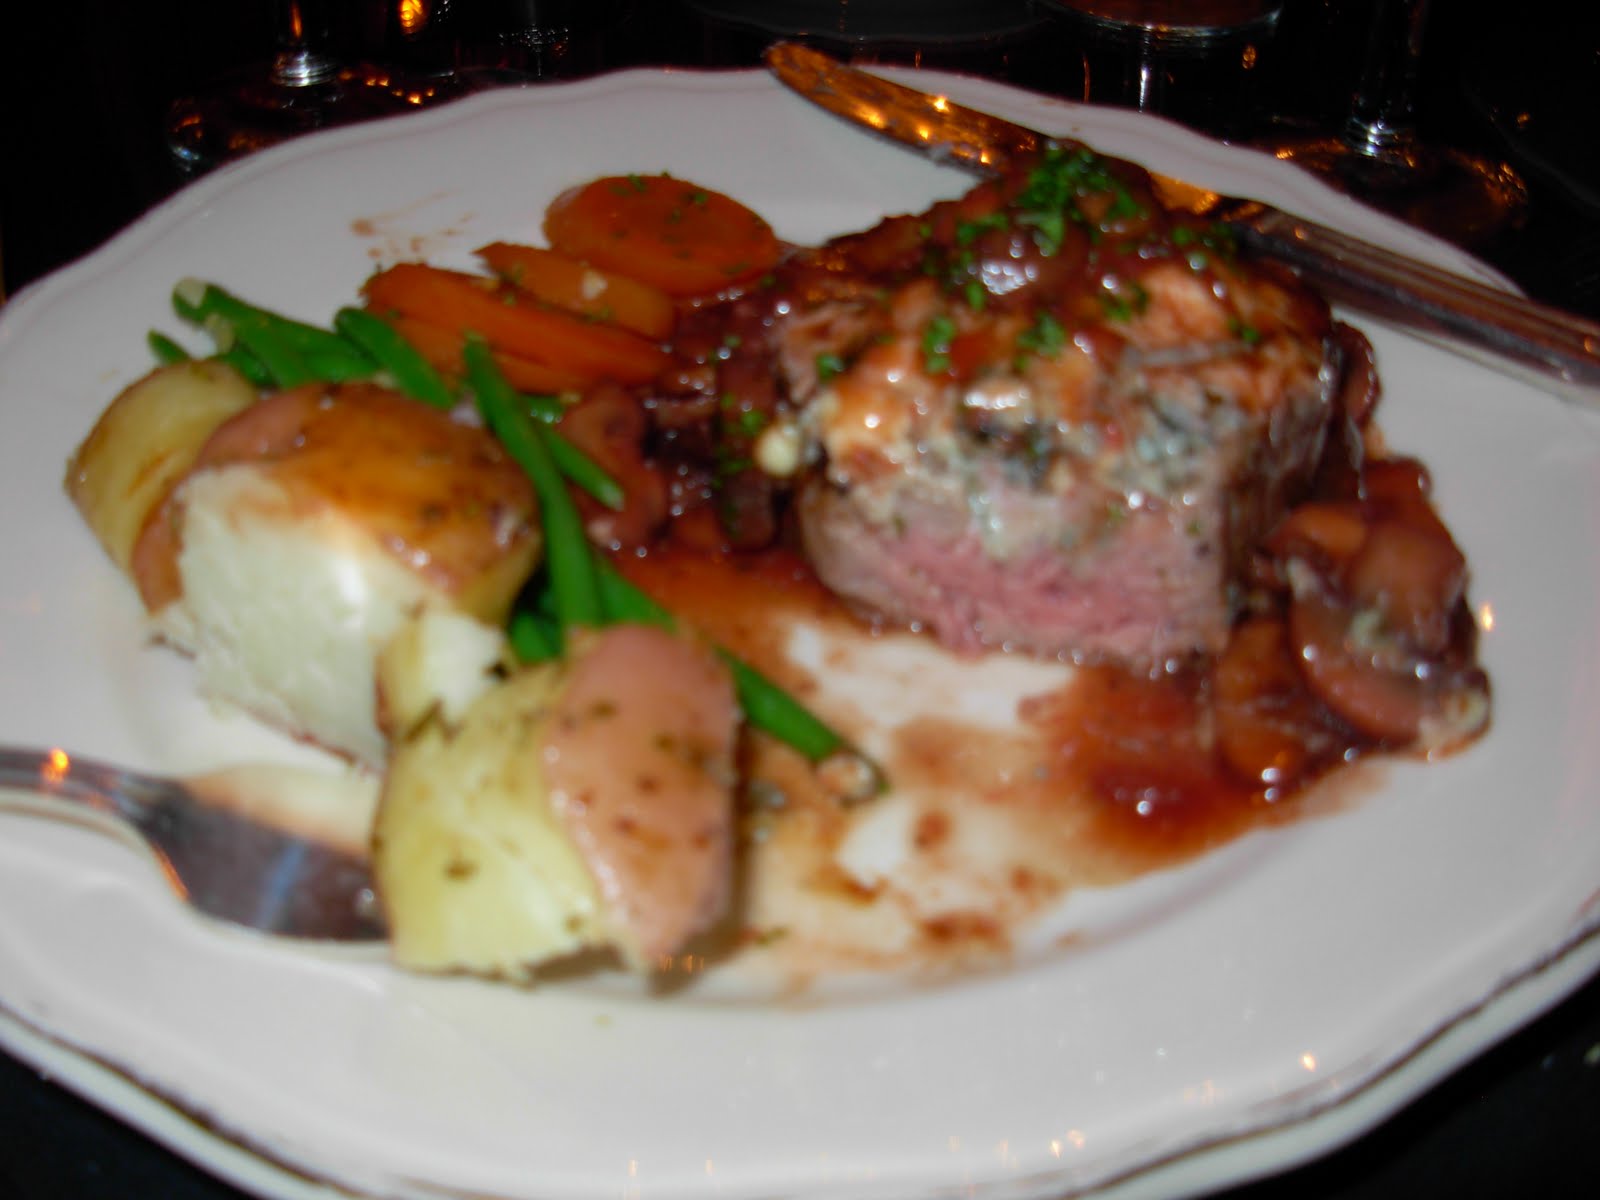
Filet Mignon with Gorgonzola and Red Wine Sauce

I ordered a special of the day, which was Filet Mignon with a Gorgonozla crust and topped with mushrooms in a red wine sauce.  I ordered it rare and it was cooked perfectly.  I was able to slice my steak with a butter knife, which is the sign of a perfect cut of beef.  The tangy and tart from the Gorgonzola with the earthy mushrooms and red wine were wonderful on the Filet.  It was a beautiful entree.


Sweet Breads in a Cognac Sauce

Tim's Sweetbreads in cognac were prepared table side.  Our waiter brought a cart with a burner on it and cooked and flambeed the dish while we watched.  It was a fun and dramatic experience and resulted in a delicious dish.  The sweetbreads truly did taste like veal and the cognac sauce was the ying to the rich meat's yang.  They meat was not scary at all.  I am a sweetbreads believer!  I will not shy away on that rare occasion when it appears on a menu.  In fact, I will be excited to have another opportunity to savor the delicate, rich morsels of meat!


Chocolate Mousse Cake

We shared a rich, chocolate mousse cake for dessert.  I think the name and picture say enough.  Yes, it was as good as it looks. :-)


Taken by our Fabulous Waiter, Shane

The Library was the kind of restaurant you remember for years to come.  We were both so enamored with the entire experience; I know every trip to Myrtle Beach will now include a trip to this wonderful place.  It really did make my taste buds dance...not sure if it was a waltz, a jig or the flamenco...but danced they did.  And I can't wait til another restaurant makes them dance again.  Food is such an adventure that I just love to explore.  I hope you are enjoying exploring along with me because I am enjoying sharing this exciting venture with all of you.

Monday, July 4, 2011

Blueberry Coffeecake Muffins

Blueberry Coffeecake Muffins


A few nights ago, we went to the grocery store to get some fruit for snacking.  We’ve been on a blueberry kick lately and found ourselves being inexplicably drawn in their direction once again.  Weird, huh?  Blueberries must have some magnetic force that just pulls us to them, crying out for us to take them home and savor eat sweet berry as they explode in our mouths.  But, back to the blueberries in the store, they were on sale – buy one pint, get one free.  So obviously, we brought home even more berries than we bargained for and needed to find something to do with them!  I decided to make blueberry muffins.  I found a recipe for Blueberry Coffeecake Muffins from Ina Garten that sounded absolutely delicious.  However, when I think coffeecake, I think crunchy, sweet topping, so I added a streusel to them.  Boy was that the ticket to the perfect blueberry muffin!  Please try these; I really don’t think you will be disappointed!

Ingredients

Muffins
12 Tablespoons butter, softened
1 ½ Cups sugar
3 Eggs
1 ½ Teaspoons vanilla
8 ounces sour cream
¼ Cup milk
2 ½ Cups flour
2 Teaspoons baking powder
½ Teaspoon baking soda
½ Teaspoon salt
1 Pint blueberries, picked through for stems

Streusel
4 Tablespoons butter, softened
½ Cup flour
½ Cup brown sugar
1 Teaspoon cinnamon

Step 1


Preheat the oven to 350 degrees.  Line muffin tins with muffin papers (the recipe made 20 muffins for me).  Let’s finish prepping so when the batter is done, the muffins can be baked.  We need to make the streusel.  Put all the ingredients into a bowl and cut the butter in so that you have pea size pieces of the mixture.  Now, we’re ready to make the batter…

Step 2

We need to cream the butter with the sugar.  Using a paddle attachment, beat them until they are light and fluffy (approximately five minutes).  Now add the eggs, one at a time.  Then add the vanilla, sour cream and milk and completely combine them.  Add the flour, baking powder, baking soda and salt and stir until they are just combined.  Finally, add the blueberries and stir them in with a spatula, so they do not break.


Step 3


Scoop the batter into the muffins tins; I used ¼ cup of batter per muffin tin.  Then top each muffin with the streusel.  Bake the muffins for 25 – 30 minutes.  They are done when a tester or knife inserted in the center of one comes out clean.  Let them cool slightly before removing them from the muffin tins.  Then enjoy plain or with butter – they are delicious both ways!

Gastronome's Note:  Try making them even more like a coffeecake by doubling the streusel recipe.  Then add half the batter, a streusel layer, the rest of the batter and more streusel!  Can you tell I like streusel?!