Mexican Lasagna
Tim and I walked into Wegmans a couple of weekends ago discussing the same conundrum we hash out every time we go grocery shopping...what should we have for dinner this week? I am ALWAYS in the mood for something with a Mexican flair and Tim (who is not always craving flavahs from South of the Border) was in agreement, so we made some light and fresh chicken tacos. We roasted four boneless skinless chicken breasts and then shredded the meat. We added three packets of Sazon seasoning, cumin and cayenne to the shredded meat. The we mixed up pico de gallo as well as guacamole. Our tacos for a week were composed of the delicious chicken, pico, guac, cheddar, black beans and a dollop of light sour cream all wrapped up in a soft corn taco shell...YUM!
So what's the catch? We used FOUR chicken breasts! What were we thinking? We had tacos all week long and STILL had leftover chicken (as well as leftover shells). We were tacoed out (shhh...don't tell the Taco Bell chihuahua...or my beloved Chipotle!) but wanted to find a use for the still tasty leftovers. Hence, this Mexican Lasagna was born. And oh my word it was delicious! What a way to use leftovers! We are hooked and are already discussing ways we might tweak it next time. Here is what I did:
Ingredients
12 Corn tortilla shells
15 Oz. enchilada sauce
2 Cups cheese, shredded (I used a mix of cheddar and Jack)
1 1/2 Cups taco meat (we had the shredded chicken)
1 Bag frozen southwest vegetable blend, defrosted (mine was peppers and onions)
1 15 Oz. can black beans, drained
Sour cream for topping
Preheat the oven to 400 degrees.
To assemble this fiesta-fit feast, I used a 7x11 baking dish and began by spreading a few spoonfuls of the enchilada sauce in the bottom of the dish to prevent sticking.
Then I layered three of the taco shells on top of the sauce.
I topped the shells with one third of my chicken,
Followed by one third of my vegetables,
A nice big handful of beans,
And a sprinkle of cheese.
Then I put on more three more tortillas and spread a generous helping of sauce on top of them. After that I repeated the chicken, vegetables, beans and cheese as well as the taco shells and enchilada sauce until I had three layers (I gently pressed down on the taco shells after each layer to help it all fit in the dish :-)).
On top of the final layer of cheese, I placed a final layer of tortilla shells,
a generous pour of sauce to keep everything moist
and a sprinkle of cheese.
Then I baked it for 25 minutes, until it was bubbling and heated through.
I let it sit for a couple of minutes and then sliced it, topping each slice with sour cream. It was absolutely delicious and did not feel at all like a leftover remake!
Now, if only I could figure out new purpose for my holey socks...
Showing posts with label Chicken. Show all posts
Saturday, March 2, 2013
Wednesday, March 14, 2012
Chicken Tikka Masala
My youngest sister, Sarah, my husband, Tim, and I all love to cook, so a couple of years ago, we had Sarah over for a dinner and a movie night, during which we would actually make the dinner. We made a French themed meal and watched Julie and Julia. We had such a blast cooking, eating and watching a movie together that we have repeated the event with different foods and different movies. It’s become somewhat of a tradition and I absolutely love that we all share this passion of pleasing the palate!
When my birthday came around last month, my sister gave me a fantastic present…she gave me a movie on DVD and said we would have another dinner and movie event…food of my choice! What a fun and special gift! I thought long and hard about my selection and finally decided upon my favorite Indian dish, Chicken Tikka Masala. I had never tried my hand at cooking Indian cuisine and thought this would be the perfect time…if we all failed, we would fail together and have a good laugh. But we didn’t fail. Aarti Seguiera’s recipe, with just a couple tweaks, was PERFECT and tasted just like the dish I have tried in multiple restaurants!
I sent some leftovers home with Sarah and my mom, not knowing what it was, tried it and loved it! She’s never eaten Indian EVER, so please don’t be scared away from trying this. It is flavorful, fresh and delicious with just a hint of spice. Here’s how we did it!
Ingredients
Marinade
1 Cup plain yogurt, whisked smooth
Sauce
2 Teaspoons olive oil
Ginger-Garlic Paste
½ Cup Garlic cloves, whole (I used a little more than 1 bulb)
When my birthday came around last month, my sister gave me a fantastic present…she gave me a movie on DVD and said we would have another dinner and movie event…food of my choice! What a fun and special gift! I thought long and hard about my selection and finally decided upon my favorite Indian dish, Chicken Tikka Masala. I had never tried my hand at cooking Indian cuisine and thought this would be the perfect time…if we all failed, we would fail together and have a good laugh. But we didn’t fail. Aarti Seguiera’s recipe, with just a couple tweaks, was PERFECT and tasted just like the dish I have tried in multiple restaurants!
I sent some leftovers home with Sarah and my mom, not knowing what it was, tried it and loved it! She’s never eaten Indian EVER, so please don’t be scared away from trying this. It is flavorful, fresh and delicious with just a hint of spice. Here’s how we did it!
Ingredients
Marinade
1 Cup plain yogurt, whisked smooth
3 Tablespoons ginger-garlic paste (recipe below)
1 Teaspoon salt
½ Teaspoon pepper
1 Pound boneless, skinless chicken breasts, cut into 1 – 1 ½ inch chunks
2 Teaspoons olive oil
3 Tablespoons butter
1/3 Cup ginger-garlic paste
2 Serrano peppers (seeded according to your spice preference), diced
2 Tablespoons tomato paste
1 Teaspoon garam masala (Indian spice blend found in the regular spice aisle)
2 Teaspoons paprika
8 Roma tomatoes, diced
1 ½ Teaspoons salt
1 to 2 Cups water
1 Red bell pepper, seeded and cut into 1 inch chunks
½ Cup heavy cream
Ginger-Garlic Paste
½ Cup Garlic cloves, whole (I used a little more than 1 bulb)
½ Cup fresh ginger, peeled, and cut into chunks
¼ Cup canola oil
Cilantro for garnish
Cooked basmati rice, naan (Indian bread)…or both if you are us! J
Step 1
The first thing you will need to do is marinate the chicken, and in order to do that, you need to make the paste.
So peel your garlic cloves and throw ½ cup of whole cloves into the small bowl of a food processor.
Then peel your ginger, cut it into chunks, and put ½ cup of it into the food processor. Finally, add your canola oil and process.
Just keep using a spatula to push the mixture down toward the blade periodically and process it until it resembles a paste. Transfer the paste into a jar or container and proceed…
Step 2
Cut your chicken breasts into pieces. You want them to be large bite-sized chunks.
Whisk the yogurt with 3 tablespoons of the paste you just made as well as 1 teaspoon salt and ½ teaspoon pepper.
Then add your chicken and toss it in the mixture. Cover it and let it marinate in the fridge for at least 30 minutes. While the chicken marinates, you might want to prep the Serrano peppers for later. Just remember seeds = heat and clean your peppers according to your taste! I can kinda handle the heat, so 1 was seeded and 1 was not…okay, I’m a little wimpy…
During the marinating, it’s also a good idea to dice your tomatoes so they are ready once you start your sauce…just looking out for ya…don’t want ya’ll stressed trying to juggle too many jobs in the kitchen at one time!
While you’re prepping (I promise this will be the last thing I make you do while you’re marinating…you can hit the couch soon!), prep your red bell pepper too. Just remove the seeds and cut it into 1 inch chunks. Now you can prop up those feet and open that box of chocolates you have been eyeing…
Step 3
After the chicken has marinated, it’s time to make the sauce. Place a large skillet over medium heat and add the oil and butter. After the butter has melted, add 1/3 cup of the paste and the Serrano peppers. Sauté for about 4 – 5 minutes and then add the tomato paste. Cook this mixture until the red color has darkened (about 3 minutes). Next, add the garam masala and paprika and sauté for another minute.
Step 4
Add the tomatoes, salt and 1 cup of water. Bring the mixture to a boil and then reduce the heat to low and allow the sauce to simmer until it thickens. Let it simmer about 20 minutes.
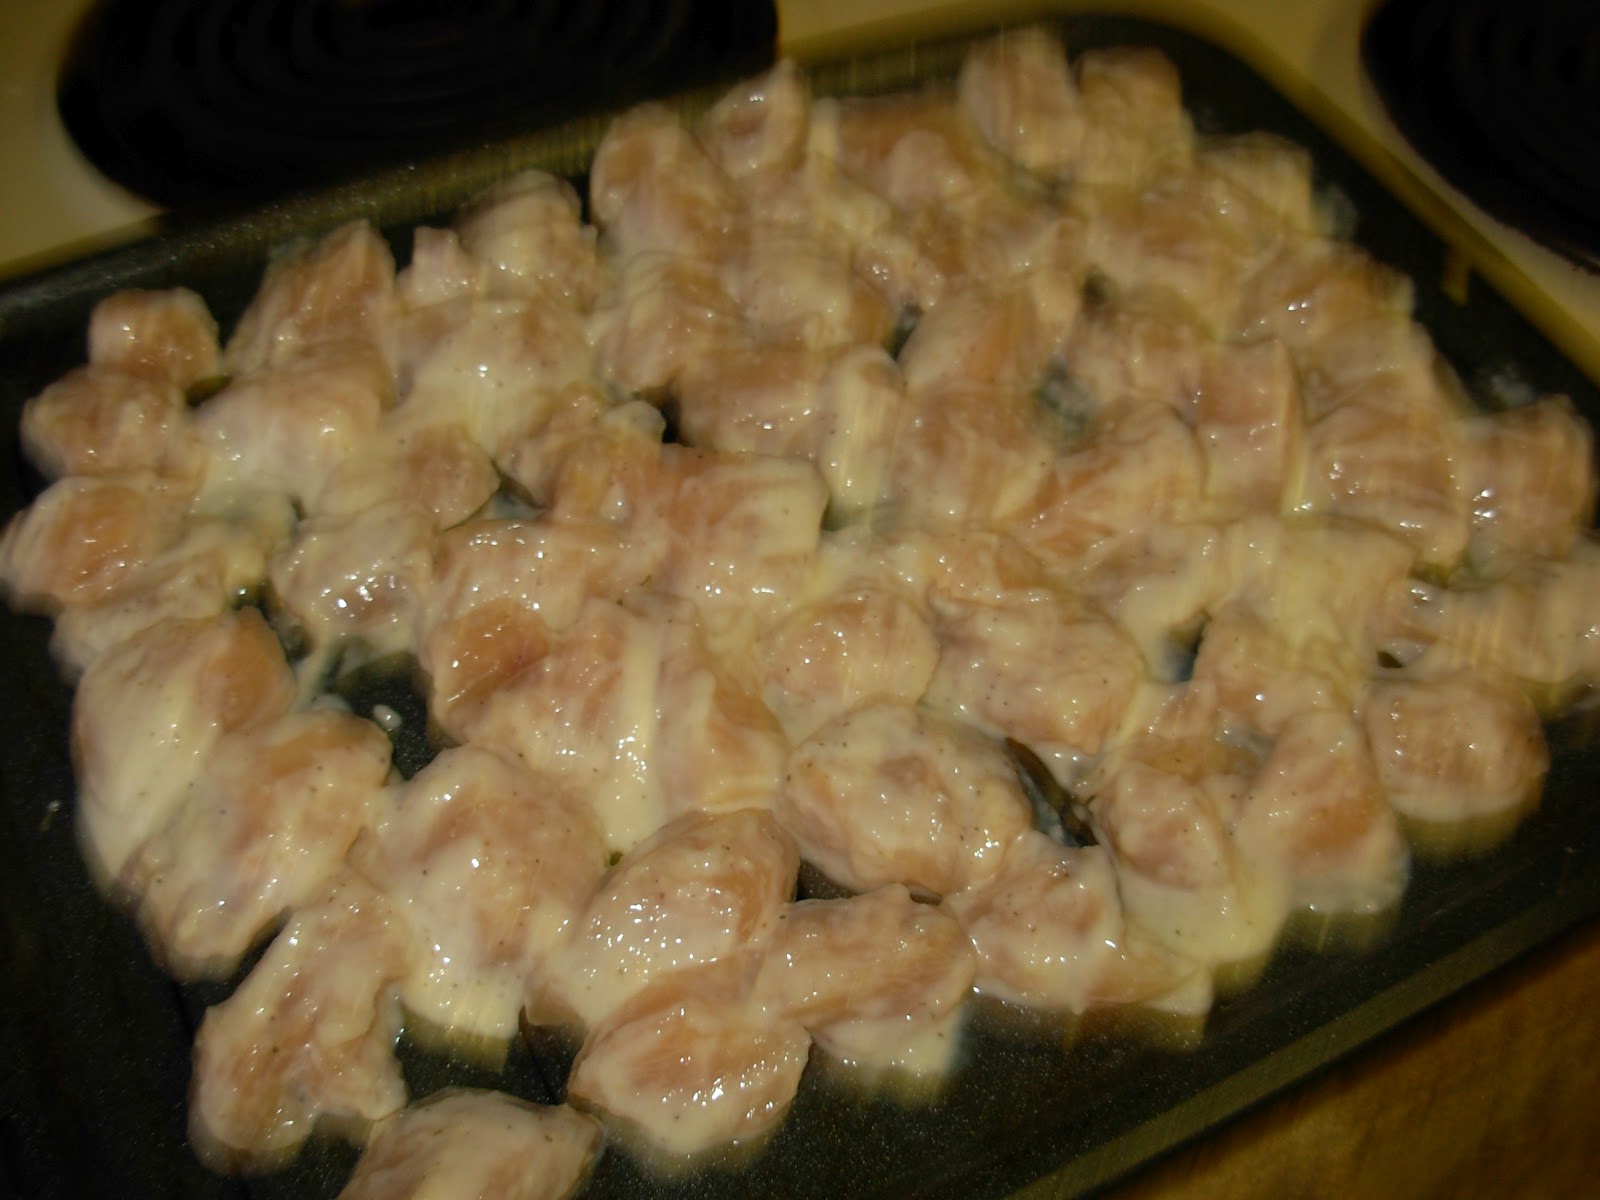
Sorry about the blurry picture...the chicken was not moving, I was!
While it simmers, turn your oven to broil and broil the chicken pieces until they brown a little on the first side, then turn them to let them brown on the second side. It took 5 – 7 minutes per side for us. Then just remove them from the oven and let them sit for awhile…they aren’t going anywhere. J
Step 5
Pour the sauce into a food processor, blender or use an immersion blender and make it velvety smooth…or close to it. Pour the sauce back into the skillet, or put it into a pot like we did and, if you are making rice set it aside…if you’re not, ignore me and move on to Step 7…or just ignore me anyway and do your own thing…it’s your call!
Step 6
I’m no rice expert, so we used 2 cups of uncooked basmati rice and cooked it according to package instructions, with these modifications. We sautéed the uncooked rice in a little olive oil just to make it a little nutty. While it was sautéing, we added a little bit of the leftover paste to the rice. Then, after 3 minutes, we added chicken stock in lieu of the water. When the rice got to the point where we were to cover it and let it simmer, we proceeded with the sauce…
Step 7
Bring the sauce back to a boil, reduce the heat to medium low and add the chicken and red bell peppers. At this point, I added about 1/3 cup of water because the sauce was a little thick. Let it simmer for 10 minutes, or until the rice has cooked. When your rice is ready, add the cream to the sauce and stir. Then spoon some rice onto your place with a nice helping of the aromatic sauce with the delicious chicken bites and bell peppers on top. I garnished it with some cilantro and served it along with some store-bought (come on, it’s already been a seven step recipe! J) naan.
I hope you like this as much as we did! I was so impressed with our first attempt at Indian food! Have fun making it and enjoy!
Thursday, February 16, 2012
White Chicken Chili
White Chicken Chili
I was watching American Beauty the other day…I know, I know, it’s an eccentric kind of movie. But, I was completely struck by one of Ricky’s lines when he is showing his movies to Jane. It’s during the beautiful little film of the bag being tossed by the wind that Ricky says:
"It was one of those days when it’s a minute away from snowing and there’s electricity in the air, you can almost hear it. Right? And this bag was just dancing with me. Like a kid begging me to play with it. For fifteen minutes. That’s the day I realized that there was this entire life behind things, and this incredibly benevolent force wanted me to know there was no reason to be afraid, ever. Video’s a poor excuse, I know. But it helps me remember…I need to remember…Sometimes there’s so much beauty in the world, I feel like I can’t take it, and my heart is just going to cave in."
Wow. That line, accompanied with the video of the grocery bag dancing in the wind, up, down, in circles, got to me. Beauty, signs from God of love and life, are all around if we slow down and let ourselves experience them. So before we get to the recipe, I want to challenge all of us to watch for beauty today as we go about our normal lives…it is there, I guarantee it.
For me, one of the greatest signs of beauty is in food. The way simple items from this planet come together and create something delectable. This dish is just that…simple. It is simple, healthy and hearty, yet is tastes so good! I adore chicken chili; actually, I adore chili of any variety. This is a recipe I’ve been using for years, but I decided to tweak it a little and see if it could be made better. It could indeed! I loved the results; I hope you do too!
Ingredients
3 Cans cannellini beans, drained and rinsed (or navy beans, or any other white bean)
"It was one of those days when it’s a minute away from snowing and there’s electricity in the air, you can almost hear it. Right? And this bag was just dancing with me. Like a kid begging me to play with it. For fifteen minutes. That’s the day I realized that there was this entire life behind things, and this incredibly benevolent force wanted me to know there was no reason to be afraid, ever. Video’s a poor excuse, I know. But it helps me remember…I need to remember…Sometimes there’s so much beauty in the world, I feel like I can’t take it, and my heart is just going to cave in."
Wow. That line, accompanied with the video of the grocery bag dancing in the wind, up, down, in circles, got to me. Beauty, signs from God of love and life, are all around if we slow down and let ourselves experience them. So before we get to the recipe, I want to challenge all of us to watch for beauty today as we go about our normal lives…it is there, I guarantee it.
For me, one of the greatest signs of beauty is in food. The way simple items from this planet come together and create something delectable. This dish is just that…simple. It is simple, healthy and hearty, yet is tastes so good! I adore chicken chili; actually, I adore chili of any variety. This is a recipe I’ve been using for years, but I decided to tweak it a little and see if it could be made better. It could indeed! I loved the results; I hope you do too!
Ingredients
3 Cans cannellini beans, drained and rinsed (or navy beans, or any other white bean)
5 Cups chicken stock
Olive oil
2 Cloves garlic, minced
1 Onion, diced
2 Poblano peppers, seeded and diced
1 Anaheim pepper, seeded and diced
2 Boneless, skinless chicken breasts, cut into ¾ inch cubes
¾ Cup corn kernels
1 Tablespoon cumin
1 Tablespoon oregano
½ Teaspoon crushed red pepper flakes
Salt and pepper
Sour cream
Shredded cheddar cheese
Scallions
Step 1
We are going to cook the chicken first, and then it will just wait to be revisited until the end. So, go ahead and cube your chicken. When you are close to being finished, put your soup pot over medium high heat with about a tablespoon of olive oil in the bottom. By the time you are finished, the oil should be hot, so add your chicken, as well as some salt and pepper, and let it brown. When it is cooked, set it aside for later.
Step 2
Next, we will prep the veggies by dicing the onion, poblanos and Anaheim and mince the garlic. Using the same pot, over medium heat, add another tablespoon of oil.
Add the onion and peppers to the oil and sauté them for about 6 minutes, until they are softened. Then add the garlic and let it cook with the veggies for 1 minute. Add 1 teaspoon of salt and ½ teaspoon of pepper.
Step 3
Add the chicken stock, cumin, oregano, crushed red peppers and all BUT 1 cup of the beans (reserve 1 cup!). Let the soup simmer for 10 – 12 minutes.
Step 4
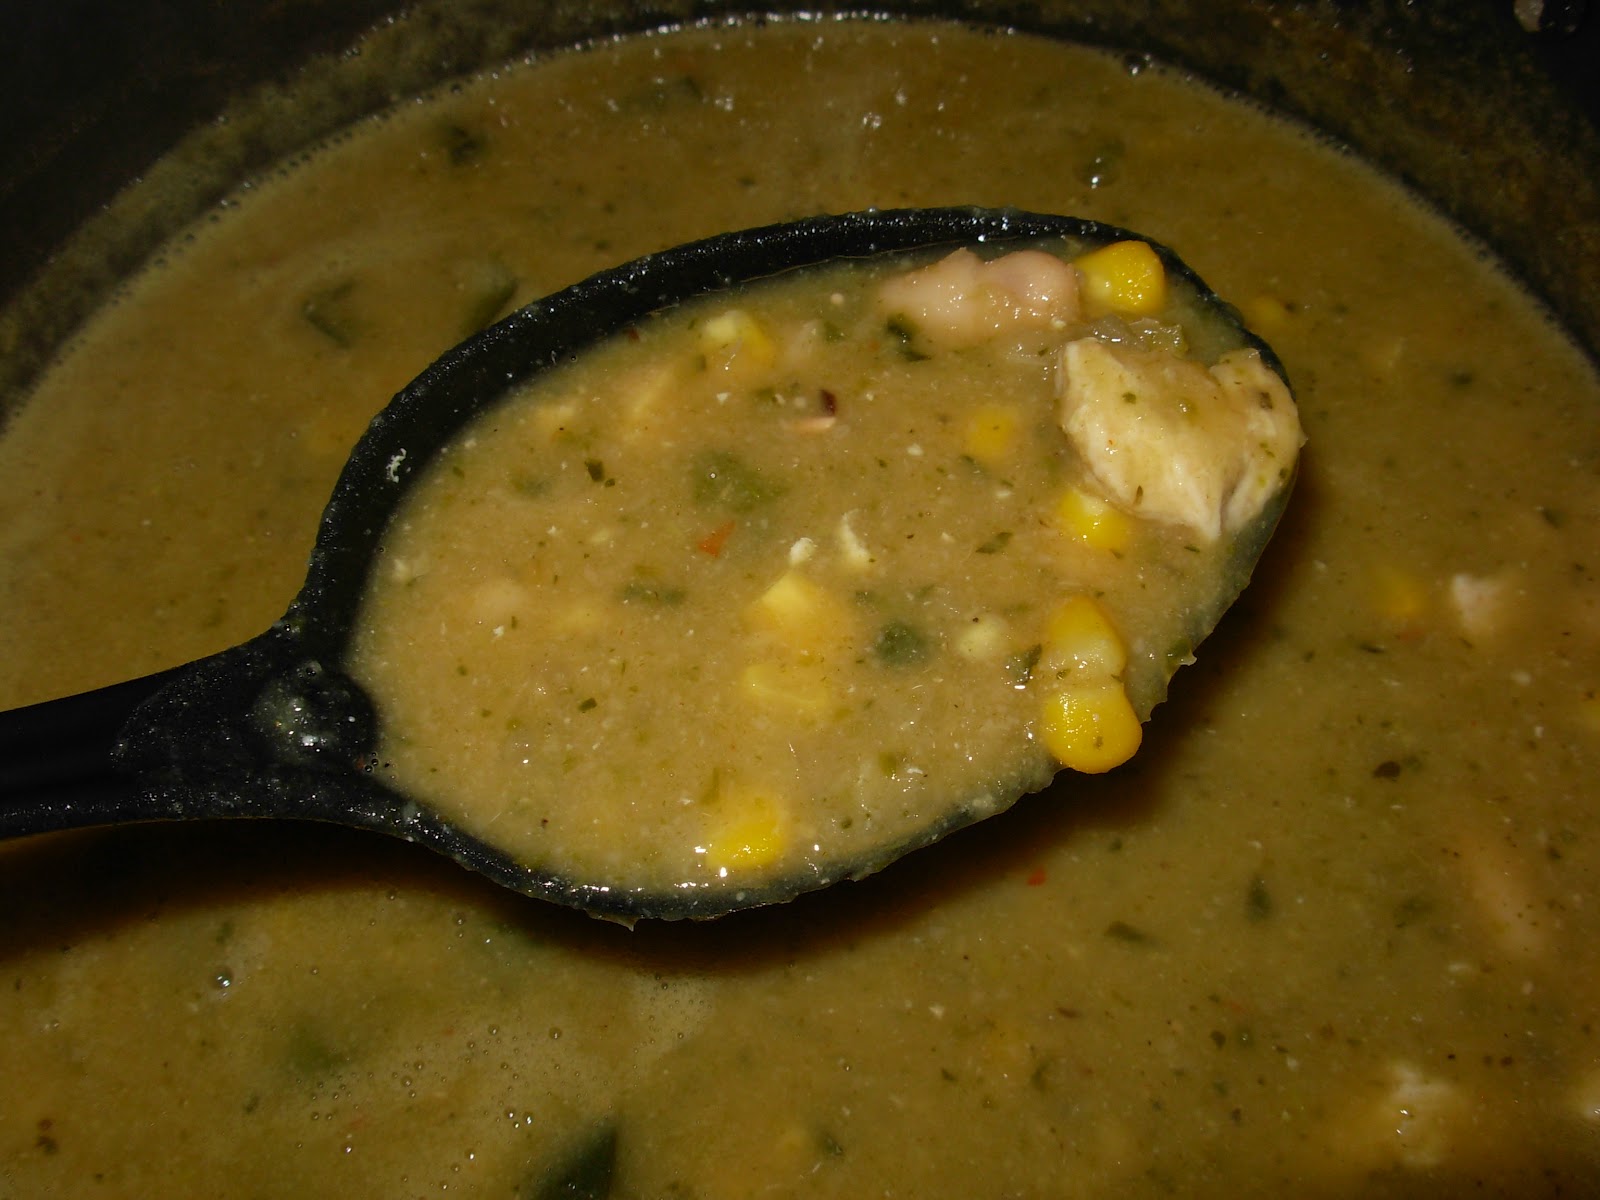
Puree the soup using an immersion blender, blender or food processor. The pureed beans will make it lovely and thick. Return the pureed soup to the heat and let it simmer for another 10 minutes to let it reduce and thicken even more.
Step 5
Add the chicken, corn and reserved beans to the pot. Taste and season accordingly. Then let it simmer another 5 minutes to let the additional ingredients warm.
To serve, I like to top the chili with sour cream, shredded cheddar and scallions.
I honestly think this chili is even better the next day! The beans make the soup more thick as it sits, so it is the perfect texture for me on day 2. I love a dish that makes great leftovers! J
Here's to a day filled with beauty (and a hearty, warming dinner)!
Sunday, February 27, 2011
Spinach Stuffed Chicken Breasts with Parsnip Puree
Spinach Stuffed Chicken Breasts with Parnip Puree
I have a confession to make…I am obsessed with stuffing meat. Weird, I know, but it’s true. Pork chops, chicken breasts, if I can slit a pocket in it and stuff it, I will! Sounds like I have some repressed surgical aspirations…hmm…could be true…I do enjoy deboning meat…a super sharp knife does excite me…but for purely culinary reasons! I digress, back to the stuffing of meat. I find it so satisfying to turn a blah piece of meat into something truly impressive. It sounds difficult and scary, but it’s not at all! And once you get the method mastered, you will think of so many interesting ways to stuff meat! Just go for it! Take the knife to the chicken…you won’t be disappointed!
Step 7
While the chicken is cooking, place 2 Tablespoons of butter in the milk and heat in the microwave until it has melted. Check the parsnips. When they are fork tender, drain them. Place them in the food processor and puree them. Add milk and butter until it is a very smooth, creamy mixture. Add salt and pepper to taste.
Step 8
I have a confession to make…I am obsessed with stuffing meat. Weird, I know, but it’s true. Pork chops, chicken breasts, if I can slit a pocket in it and stuff it, I will! Sounds like I have some repressed surgical aspirations…hmm…could be true…I do enjoy deboning meat…a super sharp knife does excite me…but for purely culinary reasons! I digress, back to the stuffing of meat. I find it so satisfying to turn a blah piece of meat into something truly impressive. It sounds difficult and scary, but it’s not at all! And once you get the method mastered, you will think of so many interesting ways to stuff meat! Just go for it! Take the knife to the chicken…you won’t be disappointed!
Ingredients:
2 Boneless, skinless, chicken breasts
¾ Cup red onion, diced
¼ Cup sun-dried tomatoes, diced
5 Kalamata olives, diced
1 Clove garlic, minced
¼ Cup olive oil, divided
1 Box chopped spinach, thawed and drained
1 Teaspoon lemon juice
1 Tablespoon Dijon mustard
3 Tablespoons dry white wine, divided
¾ Teaspoon Italian seasoning blend, divided
¼ Cup Parmesan
3/4 to 1 Pound parsnips
¾ Cup milk
4 Tablespoons butter, divided
½ Cup water
Salt and pepper
Step 1
The scariest part is the first step! Once you have this done, the rest is super easy! We’ll just get it out of the way, shall we? Find your sharpest paring knife and carefully slice a large pocket along the side of each chicken breast. Make sure you don’t cut through the chicken (you want it to hold all the delicious stuffing!), but don’t be afraid to cut the pocket close to the edges! More stuffing = more flavor!
Step 2
Whew! The hardest part is done! The rest will be smooth sailing, so let’s get started! We will get the chopping out of the way now. Dice the onion and tomatoes. Mince the garlic and chop the olives. While you’re prepping, make sure you have drained the spinach too. Squeeze all the liquid you can out of it.
Step 3
Place a medium-sized skillet over medium-high heat. Add 2 Tablespoons of olive oil. When the olive oil has heated, add the onions and cook for 2 minutes. Add the garlic and cook for 30 seconds. Add the tomatoes, olives and spinach. Stir to combine. Add the Dijon mustard, 1 Tablespoon white wine, ½ teaspoon each salt, pepper and Italian seasoning blend. Stir to combine. Transfer stuffing to a bowl and stir in the Parmesan. Taste and adjust seasoning as needed.
Step 4
Peel the parsnips just like you would a carrot. Slice into 1 inch pieces. Place the parsnips in a pot and cover them with water so they are completely immersed. Cover with a lid and put the pot on the stove. Turn it on to high, but keep an eye on it. When it starts to boil, turn the heat back to medium high heat so it simmers.
Step 5
Stuff the chicken breasts. Season the outside of the breasts with salt and pepper.
Step 6
Place the same skillet you used earlier (no reason to dirty another dish!) back on the stove. Put 2 Tablespoons of olive oil in the skillet and heat over medium heat. When it has heated, place the chicken in the pan. Cook on each side for 5 minutes.Step 7
While the chicken is cooking, place 2 Tablespoons of butter in the milk and heat in the microwave until it has melted. Check the parsnips. When they are fork tender, drain them. Place them in the food processor and puree them. Add milk and butter until it is a very smooth, creamy mixture. Add salt and pepper to taste.
Step 8
The chicken should be finished. Remove it from the pan and add the remaining wine, butter, water and Italian seasoning to the pan. Stir to deglaze the pan. While this is reducing, you can plate. Put a generous dollop of parsnips on two plates. Gently place a chicken breast over the parsnips. Check your pan sauce for seasoning (you may need some salt and pepper). Then spoon it over both the chicken and the parsnips. Dig in! Congratulations! You have now stuffed your own chicken breast and are on the way to obsession! J
Gastronome's Note:
You could add goat cheese or fontina along with the Parmesan for some extra creaminess and richness. Also, I always cook the extra filling in the microwave to kill any bacteria from stuffing the chicken and then eat it for a snack! It’s delicious on some baguette toasts with mozzarella or fontina melted on top!
Subscribe to:
Posts (Atom)