Sunday, October 7, 2012

Roasted Vegetable Soup

Roasted Vegetable Soup


I’m baaaaaaccckkkk (said by a creepy little girl sitting in front of a TV).  Can you tell I’m enjoying October and all this beauteous month brings with it?  We have amped up the horror movie viewing (hence the previous reference...), donned our football jerseys, had more pumpkin spice lattes than any one person should have by the beginning of October, worked them off by crunching on the now falling leaves and broken out the flavors of this, my favorite, season.  Welcome back fall!

For my first post in more months than I care to admit, I want to feature an insanely simple and delicious soup we made recently.  For this soup (adapted from Ina Garten), we began by roasting vegetables.  If you have never roasted veggies, you need to give it a try.  Something magical happens to a vegetable in the oven.  Squash, brussel sprouts, asparagus, cauliflower…all veggies that simply need a little olive oil, salt, pepper and a hot oven for fabulous things to happen.  Enjoy this particular soup for dinner with some crusty bread, or for lunch at work on a chilly day (yep, it is nutritious and light enough for a guilt free lunch).


Ingredients
1 Pound Carrots
1 Pound Parsnips
1 Large sweet potato
2 Pounds Butternut squash
1 Spanish onion
3 Tablespoons olive oil
1 ½ Teaspoons salt
½ Teaspoon pepper
1 Teaspoon dried thyme
8 Cups chicken stock (I prefer unsalted)
Salt and pepper

Step 1
As always, I begin by prepping my veggies.  Go ahead and preheat the oven to 425 degrees.  Then peel the carrots, parsnips, sweet potato, squash and onion.  Cut each of the veggies into about 1 ¼ inch pieces. 


Place them in a large bowl and add the olive oil, 1 ½ teaspoons salt, ½ teaspoon pepper and thyme.  Toss the veggies to evenly coat them.  Then place them in a single layer on two sheet pans.  Place the pans in the oven and roast the vegetables for 45 minutes to 1 hour, turning them every 15 minutes, so they are evenly cooked.  You want the veggies to have some nice browning on them…brown = flavor!


Step 2

When the vegetables are finished, heat the chicken stock in a large pot.  Add the vegetables to the stock.  Using an immersion blender, standing blender or food processor, puree the soup.  You want it to be thick, but not mashed potatoes thick.  I ended up adding a little water just to thin it out. 


When it is a nice consistency, stir in salt and pepper to taste.


It's that easy!  Enjoy on a cool autumn day!

Wednesday, March 14, 2012

Chicken Tikka Masala

Chicken Tikka Masala


My youngest sister, Sarah, my husband, Tim, and I all love to cook, so a couple of years ago, we had Sarah over for a dinner and a movie night, during which we would actually make the dinner.  We made a French themed meal and watched Julie and Julia.  We had such a blast cooking, eating and watching a movie together that we have repeated the event with different foods and different movies.  It’s become somewhat of a tradition and I absolutely love that we all share this passion of pleasing the palate!

When my birthday came around last month, my sister gave me a fantastic present…she gave me a movie on DVD and said we would have another dinner and movie event…food of my choice!  What a fun and special gift!  I thought long and hard about my selection and finally decided upon my favorite Indian dish, Chicken Tikka Masala.  I had never tried my hand at cooking Indian cuisine and thought this would be the perfect time…if we all failed, we would fail together and have a good laugh.  But we didn’t fail.  Aarti Seguiera’s recipe, with just a couple tweaks, was PERFECT and tasted just like the dish I have tried in multiple restaurants!

I sent some leftovers home with Sarah and my mom, not knowing what it was, tried it and loved it!  She’s never eaten Indian EVER, so please don’t be scared away from trying this.  It is flavorful, fresh and delicious with just a hint of spice.  Here’s how we did it!

Ingredients

Marinade
1 Cup plain yogurt, whisked smooth
3 Tablespoons ginger-garlic paste (recipe below)
1 Teaspoon salt
½ Teaspoon pepper

1 Pound boneless, skinless chicken breasts, cut into 1 – 1 ½ inch chunks

Sauce
2 Teaspoons olive oil
3 Tablespoons butter
1/3 Cup ginger-garlic paste
2 Serrano peppers (seeded according to your spice preference), diced
2 Tablespoons tomato paste
1 Teaspoon garam masala (Indian spice blend found in the regular spice aisle)
2 Teaspoons paprika
8 Roma tomatoes, diced
1 ½ Teaspoons salt
1 to 2 Cups water
1 Red bell pepper, seeded and cut into 1 inch chunks
½ Cup heavy cream

Ginger-Garlic Paste
½ Cup Garlic cloves, whole (I used a little more than 1 bulb)
½ Cup fresh ginger, peeled, and cut into chunks
¼ Cup canola oil

Cilantro for garnish
Cooked basmati rice, naan (Indian bread)…or both if you are us! J

Step 1
The first thing you will need to do is marinate the chicken, and in order to do that, you need to make the paste. 


So peel your garlic cloves and throw ½ cup of whole cloves into the small bowl of a food processor. 


Then peel your ginger, cut it into chunks, and put ½ cup of it into the food processor.  Finally, add your canola oil and process. 


Just keep using a spatula to push the mixture down toward the blade periodically and process it until it resembles a paste.  Transfer the paste into a jar or container and proceed…

Step 2
Cut your chicken breasts into pieces.  You want them to be large bite-sized chunks. 


Whisk the yogurt with 3 tablespoons of the paste you just made as well as 1 teaspoon salt and ½ teaspoon pepper. 


Then add your chicken and toss it in the mixture.  Cover it and let it marinate in the fridge for at least 30 minutes.  While the chicken marinates, you might want to prep the Serrano peppers for later.  Just remember seeds = heat and clean your peppers according to your taste!  I can kinda handle the heat, so 1 was seeded and 1 was not…okay, I’m a little wimpy…

During the marinating, it’s also a good idea to dice your tomatoes so they are ready once you start your sauce…just looking out for ya…don’t want ya’ll stressed trying to juggle too many jobs in the kitchen at one time!

While you’re prepping (I promise this will be the last thing I make you do while you’re marinating…you can hit the couch soon!), prep your red bell pepper too.  Just remove the seeds and cut it into 1 inch chunks.  Now you can prop up those feet and open that box of chocolates you have been eyeing…

Step 3


After the chicken has marinated, it’s time to make the sauce.  Place a large skillet over medium heat and add the oil and butter.  After the butter has melted, add 1/3 cup of the paste and the Serrano peppers.  Sauté for about 4 – 5 minutes and then add the tomato paste.  Cook this mixture until the red color has darkened (about 3 minutes).  Next, add the garam masala and paprika and sauté for another minute.

Step 4


Add the tomatoes, salt and 1 cup of water.  Bring the mixture to a boil and then reduce the heat to low and allow the sauce to simmer until it thickens.  Let it simmer about 20 minutes.

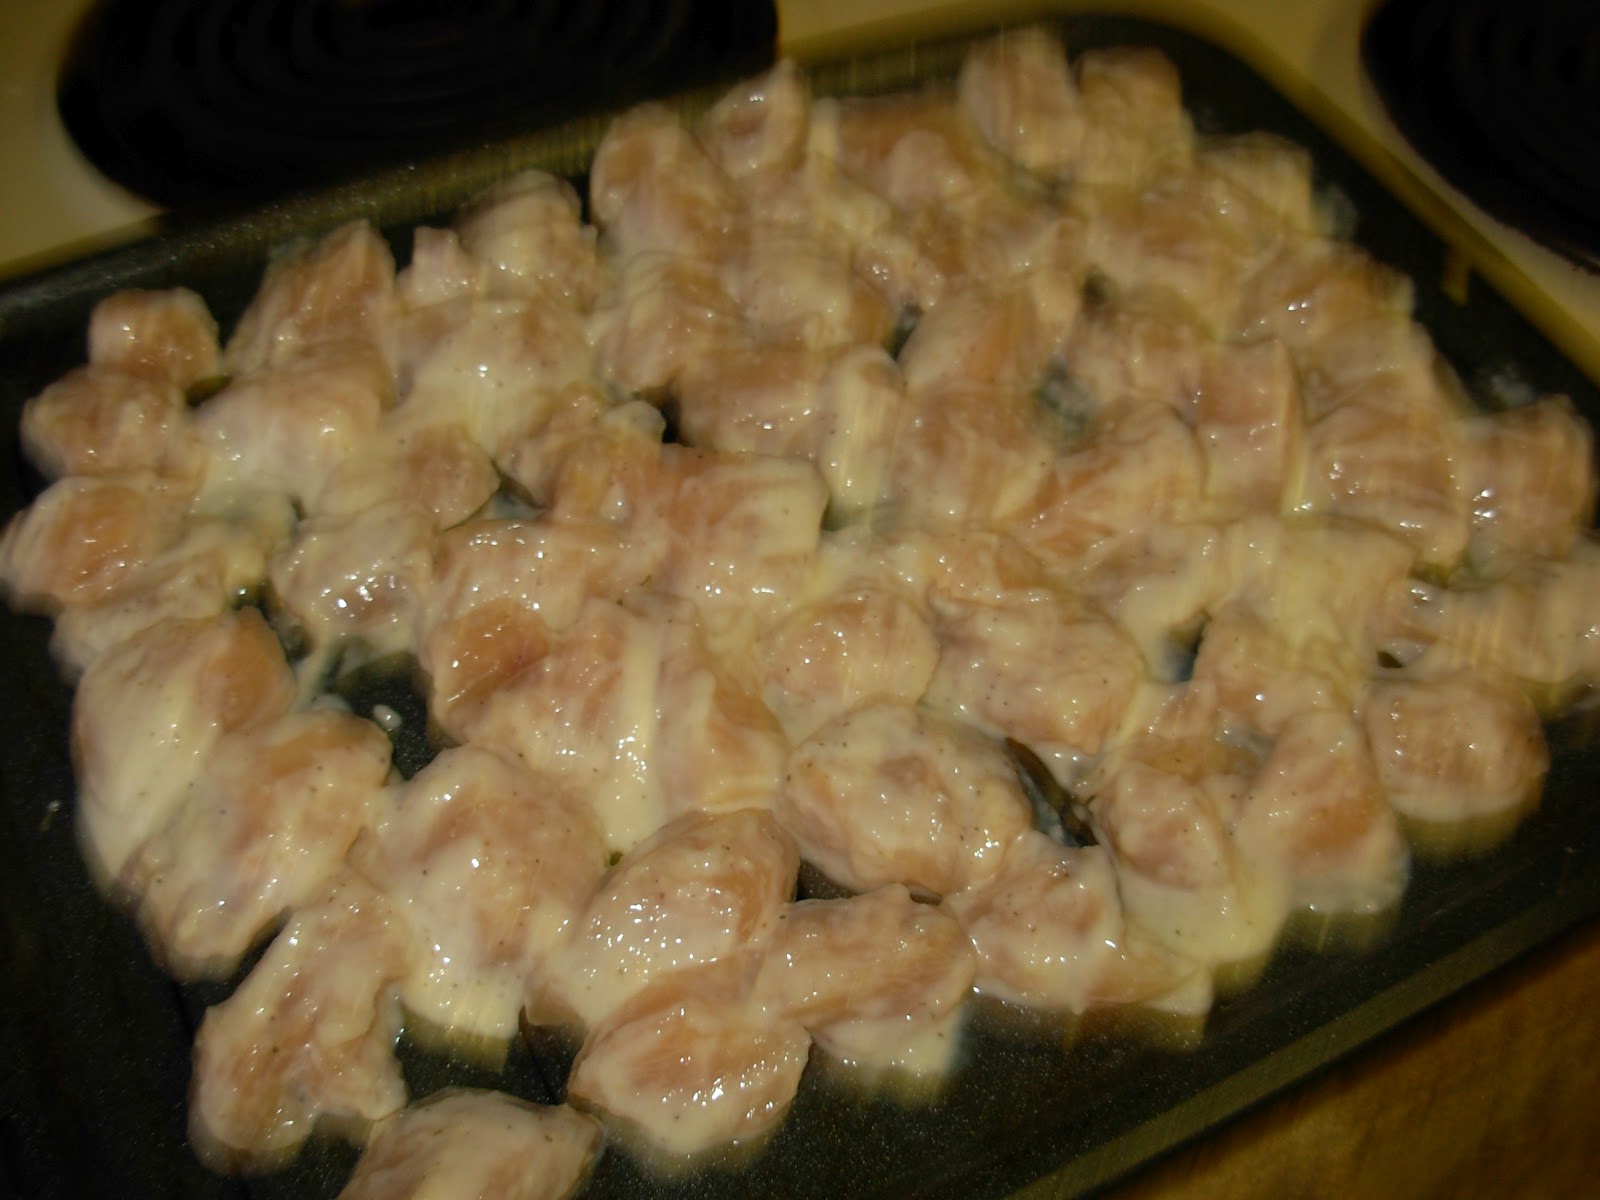
Sorry about the blurry picture...the chicken was not moving, I was!

While it simmers, turn your oven to broil and broil the chicken pieces until they brown a little on the first side, then turn them to let them brown on the second side.  It took 5 – 7 minutes per side for us.  Then just remove them from the oven and let them sit for awhile…they aren’t going anywhere. J

Step 5


Pour the sauce into a food processor, blender or use an immersion blender and make it velvety smooth…or close to it.  Pour the sauce back into the skillet, or put it into a pot like we did and, if you are making rice set it aside…if you’re not, ignore me and move on to Step 7…or just ignore me anyway and do your own thing…it’s your call!

Step 6
I’m no rice expert, so we used 2 cups of uncooked basmati rice and cooked it according to package instructions, with these modifications.  We sautéed the uncooked rice in a little olive oil just to make it a little nutty.  While it was sautéing, we added a little bit of the leftover paste to the rice.  Then, after 3 minutes, we added chicken stock in lieu of the water.  When the rice got to the point where we were to cover it and let it simmer, we proceeded with the sauce…

Step 7


Bring the sauce back to a boil, reduce the heat to medium low and add the chicken and red bell peppers.  At this point, I added about 1/3 cup of water because the sauce was a little thick.  Let it simmer for 10 minutes, or until the rice has cooked.  When your rice is ready, add the cream to the sauce and stir.  Then spoon some rice onto your place with a nice helping of the aromatic sauce with the delicious chicken bites and bell peppers on top.  I garnished it with some cilantro and served it along with some store-bought (come on, it’s already been a seven step recipe! J) naan.


I hope you like this as much as we did!  I was so impressed with our first attempt at Indian food!  Have fun making it and enjoy!

Monday, March 5, 2012

Lentil and Sausage Soup

Lentil and Sausage Soup


For months, I had been dreaming of lentil soup.  I knew in order for these dreams to end, I had to make some variation, but wanted to find just the right recipe.  I checked recipe after recipe, had ideas of adaptations I wanted to make, but couldn’t find just the right twist.  I read through each recipe, tasting in my mind what the finished product would be, and couldn’t find one with an ingredient that was just different enough to make it interesting.  That is, until I came upon Ina Garten’s Lentil Sausage Soup.  Sausage.  Kielbasa to be exact.  That made me go “hmm.”  That was exactly what I was looking for!  I love those aha moments!  Leave it to Ina Garten to have exactly what I wanted.

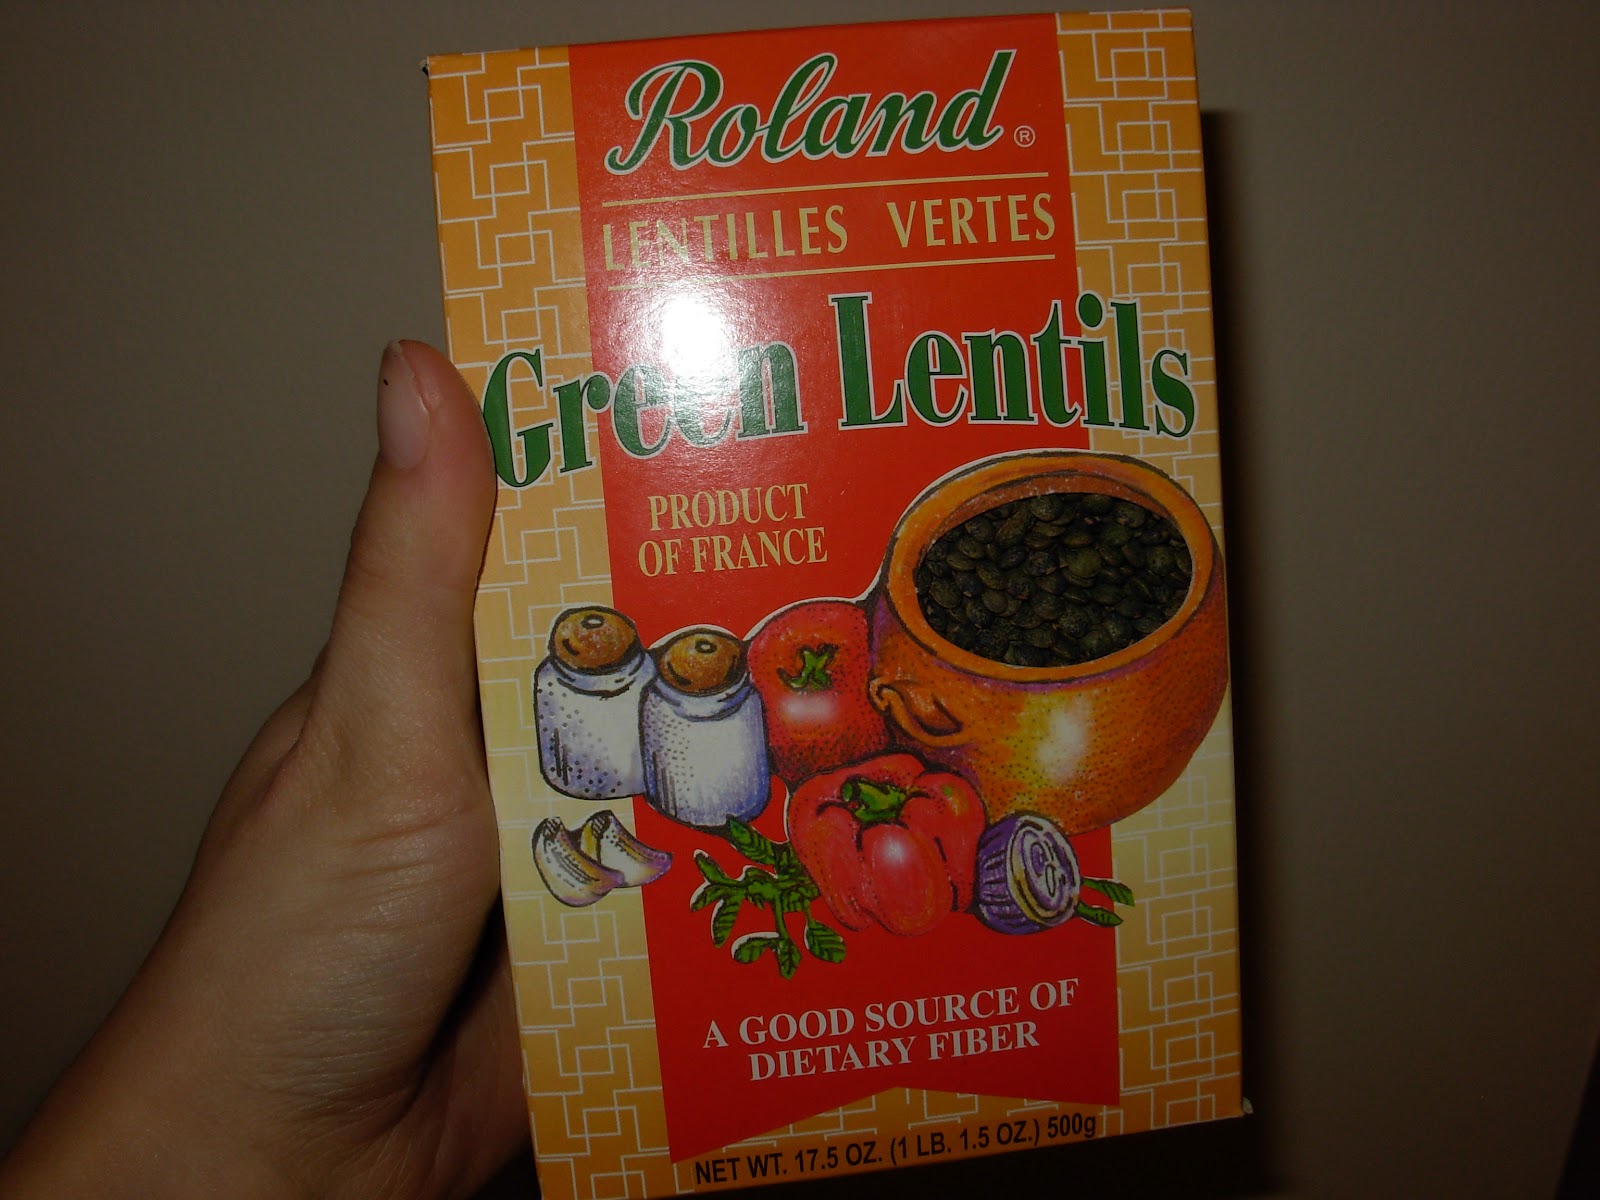
We made the soup, with some additions of our own, and absolutely loved it!  When it says French green lentils, please do try to find them.  Regular green lentils lose their shape and become more like split peas.  It would still be delicious, but I love that the French lentils hold their shape.  Just my two cents. J

The bonus is, this soup makes a lot of meals, so some can be frozen for later…or even better, some can be shared with friends!  Enjoy with a crusty baguette and you have a delicious, healthful meal.

Ingredients

1 Pound French green lentils
¼ Cup olive oil
4 Cups yellow onions, diced (2 HUGE onions did the trick for me)
4 Cups leeks, washed and chopped, white and light green parts (2 leeks)
1 Tablespoon garlic, minced
1 Tablespoon salt
1 ½ Teaspoons black pepper
1 Teaspoon thyme, dried, or 1 Tablespoon thyme, fresh
1 Teaspoon cumin
3 Cups celery, diced (8 stalks)
4 Carrots, diced
2 Parsnips, diced
3 Quarts chicken stock
2 Tablespoons tomato paste
1 28 oz. Can whole tomatoes, crushed by hand, with juice
1 Pound kielbasa, cut in half lengthwise and sliced (I used turkey kielbasa to reduce fat)
1/4 Teaspoon crushed red pepper
2 Tablespoons red wine vinegar
Parmesan rind (if you have one on hand, which I did and decided to toss into the soup!)

Step 1


In a large bowl, cover the lentils with boiling water and allow them to sit for 15 minutes.  Then drain them and set them aside for later.


Step 2


While the lentils are sitting, begin chopping your onions, leeks (slice in half and clean between the layers well…lots of sand in there!) and garlic.  Then get a large stockpot heating over medium heat.  Add the olive oil. 


When it is hot, add the onions, leeks, garlic, salt, pepper, thyme, crushed red peppers and cumin.  Sauté the mixture for about 15 minutes, or until the vegetables are tender.

Step 3


While the mixture is sautéing (be sure to stir occasionally), chop your celery, carrots and parsnips.  It might take longer than your onion mixture will need to cook.  Just take it off the heat when it is tender and continue chopping your veggies. 


When they are all ready, add them to the onion mixture and sauté for another 10 minutes.

Step 4


While the veggies sauté, open your can of whole tomatoes and crush them by hand, with all the juices.  When the veggies are ready, add the chicken stock, tomato paste, tomatoes, lentils (drained), and Parmesan rind.  Bring it to a boil, covered.  Then reduce the heat to simmer and remove the lid.  Allow the soup to simmer for 1 hour, stirring occasionally.

Step 5

When the hour is almost over, slice the sausage in half lengthwise and then slice into 1/3 inch pieces.  Check the soup’s seasoning level when the hour is over.  Add more salt, pepper, crushed red pepper, thyme or cumin according to your own taste. 


Then remove the Parmesan rind and add the sausage and red wine vinegar.  Simmer for another 5 – 10 minutes, just to heat the kielbasa.


To serve, I topped it with Parmesan cheese.  Bon appetite!

Gastronome's Note:  This soup can easily be made vegetarian!  Just substitute the chicken stock for vegetable stock and leave out the kielbasa.

Thursday, February 16, 2012

White Chicken Chili

White Chicken Chili


I was watching American Beauty the other day…I know, I know, it’s an eccentric kind of movie.  But, I was completely struck by one of Ricky’s lines when he is showing his movies to Jane.  It’s during the beautiful little film of the bag being tossed by the wind that Ricky says:

"It was one of those days when it’s a minute away from snowing and there’s electricity in the air, you can almost hear it.  Right?  And this bag was just dancing with me.  Like a kid begging me to play with it.  For fifteen minutes.  That’s the day I realized that there was this entire life behind things, and this incredibly benevolent force wanted me to know there was no reason to be afraid, ever.  Video’s a poor excuse, I know.  But it helps me remember…I need to remember…Sometimes there’s so much beauty in the world, I feel like I can’t take it, and my heart is just going to cave in."

Wow.  That line, accompanied with the video of the grocery bag dancing in the wind, up, down, in circles, got to me.  Beauty, signs from God of love and life, are all around if we slow down and let ourselves experience them.  So before we get to the recipe, I want to challenge all of us to watch for beauty today as we go about our normal lives…it is there, I guarantee it.

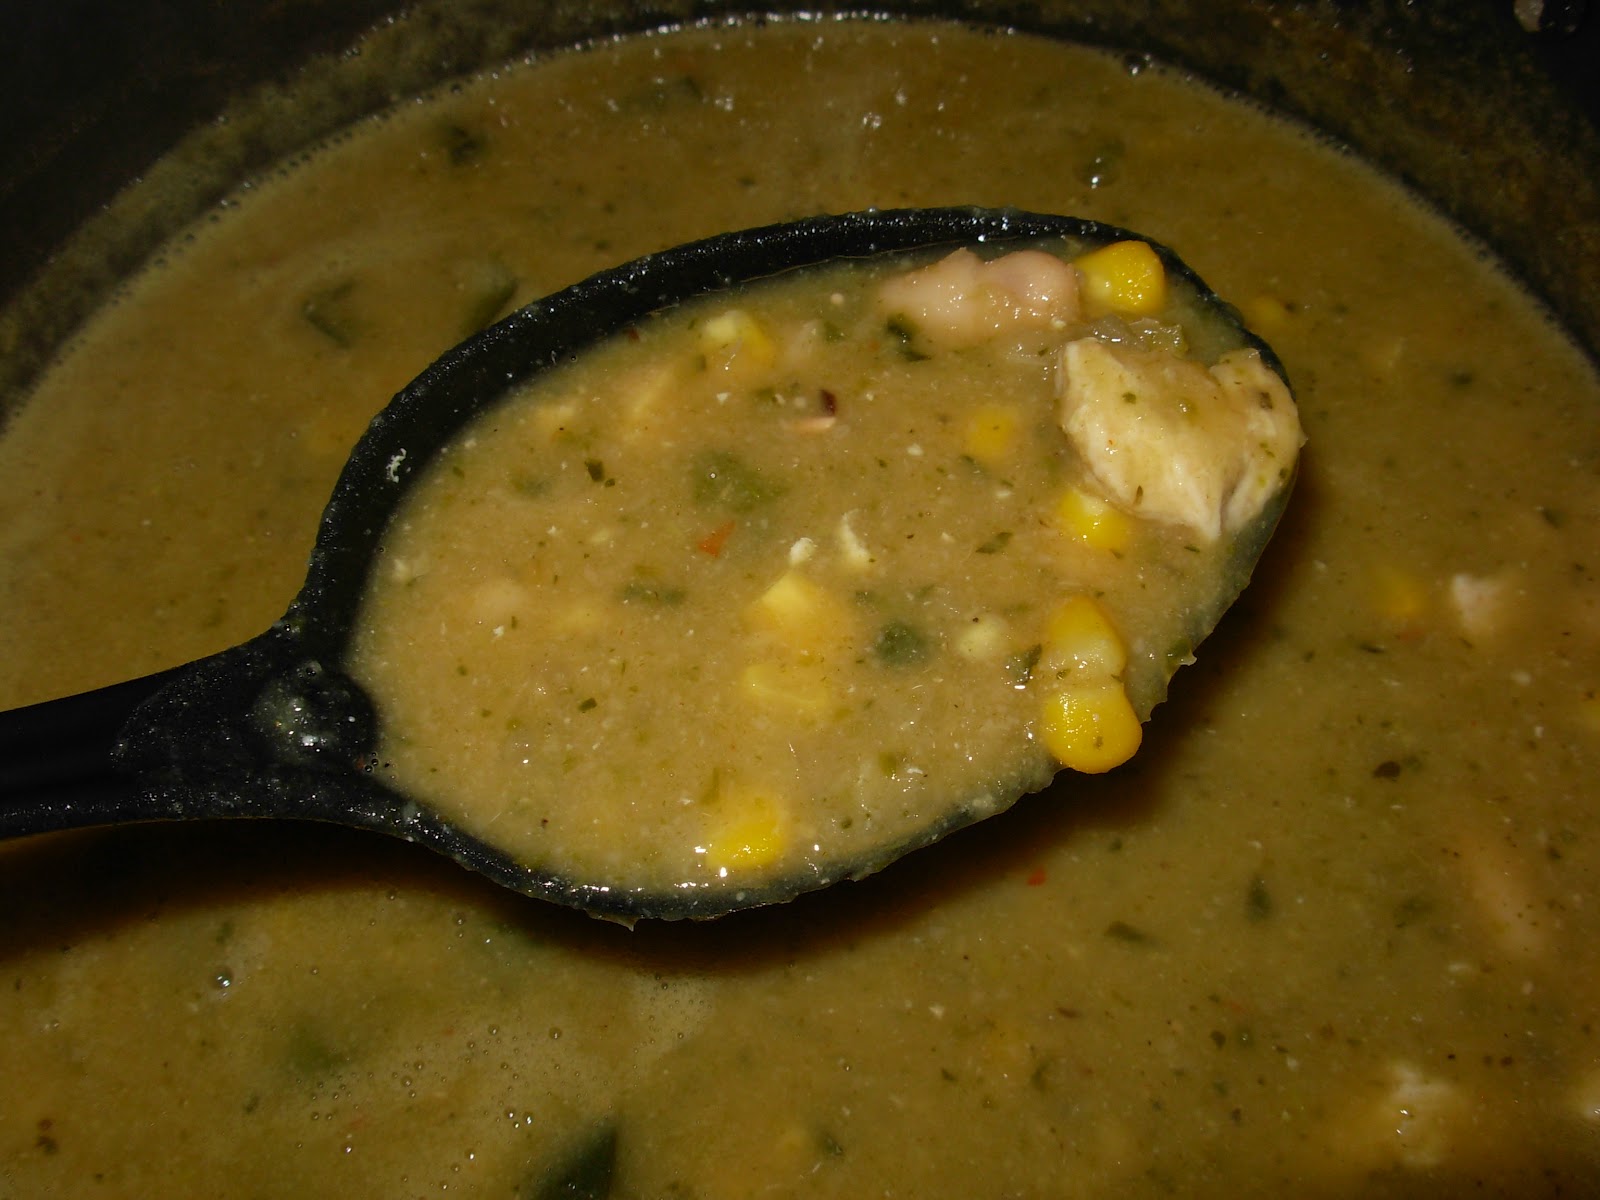
For me, one of the greatest signs of beauty is in food.  The way simple items from this planet come together and create something delectable.  This dish is just that…simple.  It is simple, healthy and hearty, yet is tastes so good!  I adore chicken chili; actually, I adore chili of any variety.  This is a recipe I’ve been using for years, but I decided to tweak it a little and see if it could be made better.  It could indeed!  I loved the results; I hope you do too!

Ingredients
3 Cans cannellini beans, drained and rinsed (or navy beans, or any other white bean)
5 Cups chicken stock
Olive oil
2 Cloves garlic, minced
1 Onion, diced
2 Poblano peppers, seeded and diced
1 Anaheim pepper, seeded and diced
2 Boneless, skinless chicken breasts, cut into ¾ inch cubes
¾ Cup corn kernels
1 Tablespoon cumin
1 Tablespoon oregano
½ Teaspoon crushed red pepper flakes
Salt and pepper
Sour cream
Shredded cheddar cheese
Scallions

Step 1


We are going to cook the chicken first, and then it will just wait to be revisited until the end.  So, go ahead and cube your chicken.  When you are close to being finished, put your soup pot over medium high heat with about a tablespoon of olive oil in the bottom.  By the time you are finished, the oil should be hot, so add your chicken, as well as some salt and pepper, and let it brown.  When it is cooked, set it aside for later.

Step 2


Next, we will prep the veggies by dicing the onion, poblanos and Anaheim and mince the garlic.  Using the same pot, over medium heat, add another tablespoon of oil. 


Add the onion and peppers to the oil and sauté them for about 6 minutes, until they are softened.  Then add the garlic and let it cook with the veggies for 1 minute.  Add 1 teaspoon of salt and ½ teaspoon of pepper.

Step 3


Add the chicken stock, cumin, oregano, crushed red peppers and all BUT 1 cup of the beans (reserve 1 cup!).  Let the soup simmer for 10 – 12 minutes.

Step 4


Puree the soup using an immersion blender, blender or food processor.  The pureed beans will make it lovely and thick.  Return the pureed soup to the heat and let it simmer for another 10 minutes to let it reduce and thicken even more.

Step 5


Add the chicken, corn and reserved beans to the pot.  Taste and season accordingly.  Then let it simmer another 5 minutes to let the additional ingredients warm.


To serve, I like to top the chili with sour cream, shredded cheddar and scallions.

I honestly think this chili is even better the next day!  The beans make the soup more thick as it sits, so it is the perfect texture for me on day 2.  I love a dish that makes great leftovers! J

Here's to a day filled with beauty (and a hearty, warming dinner)!

Monday, January 16, 2012

Resolution Saving Touchdown Dips

Resolution Saving Touchdown Dips


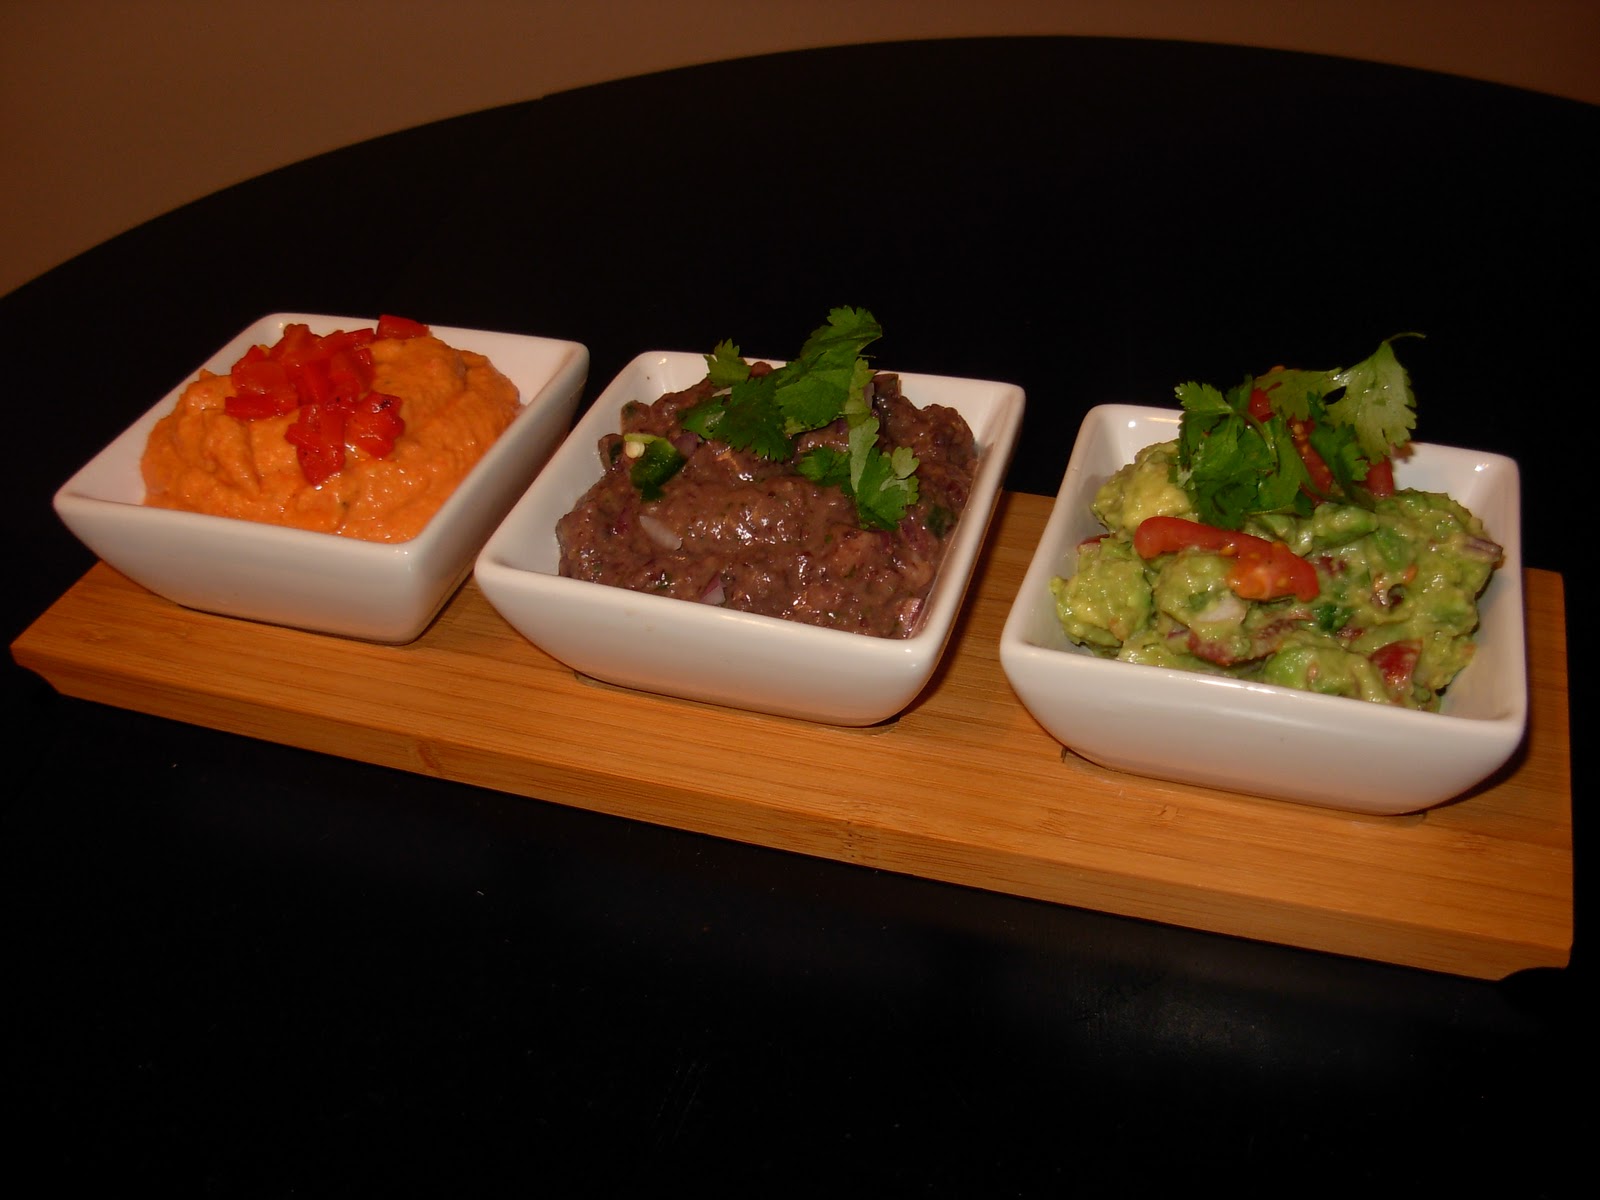
No good party, football themed or otherwise, is complete without at least one dip.  Well, that’s how I feel about it anyway.  I want something delicious to dip vegetables, tortilla chips and pita chips into throughout the event.  Dips are perfect for prolonged snacking…just put a little on your plate with some sort of dipper, eat, and repeat!  Unfortunately, most party dips are FULL of fat and high in calories – not exactly helpful in keeping to a New Year’s resolution.  In an attempt to help myself, and all of you, stay healthy throughout this New Year, I concocted this trio of dips.  They are perfect together or individually.  They are beautiful and tasty enough to use at a party, and simple and healthy enough to take with you in your lunch for work.  Just pack some vegetables and/or pita chips and you’ll be looking forward to that healthy packed lunch for once!  The hummus is also really good in a wrap or sandwich with some crunchy lettuce and tangy tomatoes. 

So don’t shy away from those playoff parties this year!  You can have your dip and be healthy too!

Dip #1

Roasted Red Pepper Hummus

Ingredients

4 Cloves garlic
2 (15 oz) Cans garbanzo beans (chick peas), liquid from one can reserved
1 ½ Teaspoons salt
1/3 Cup tahini paste
6 Tablespoons lemon juice
2 Tablespoons bean liquid
3 – 4 Teaspoons Frank’s hot sauce
3 Whole roasted red peppers, towel dried


Before we begin, I need to make sure you know about the tahini.  It is a sesame paste that is a classic ingredient in hummus.  You can actually find it in the ethnic (Mediterranean section) of most grocery stores.  It really makes hummus delicious, so pretty please…keep it in the dip! J

Step 1


This dip is so incredibly simple to make!  You just need the food processor and you are ready to go!  Throw your garlic cloves into the processor and process them until they are minced.  Then scrape the pieces down the sides of the food processor back to the base of the bowl.

Step 2


Add the drained garbanzo beans, salt, tahini, lemon juice, bean liquid, hot sauce and roasted red peppers.  Turn the machine on and let the ingredients blend until smooth. 


If it is too thick, add more of the bean liquid until the texture is just as you would like it.  Make sure you taste it and add more hot sauce or salt if your taste buds aren’t dancing!

To serve at a party, I just chopped some roasted red pepper and used it to garnish the dip.

It's that easy!!!  Now on to the next dip...

Dip #2

Black Bean Dip


Ingredients

1 (15 oz.) Can black beans, liquid reserved before rinsing the beans
Juice of 1 lime
¼ Medium red onion, small diced
1 Tablespoons cilantro
1 Teaspoon cumin
1 Jalapeno, small diced
1 Tablespoon, plus more if needed, bean liquid
2 Cloves garlic
½ Teaspoon salt

Step 1


The food processor makes this dip a snap too!  Place the garlic in the food processor and process until minced.

Step 2


Place the black beans, lime juice, cilantro, cumin, bean liquid and salt into the bowl with the garlic and process until it is smooth. 


Add more bean liquid if the dip is too thick.

Step 3

Small dice your red onion and jalapeno.  When it comes to the jalapeno, I removed most of the ribs and seeds, but left some for heat.  It is up to you how hot you would like it to be.  When you have finished, hand mix them into the dip.  I like the crunch of the onion and pepper with the creamy dip.

To serve this dip, I topped it with cilantro.

How easy have these dips been?!  Now on to the last...

Dip #3

Guacamole


Ingredients

3 Avocados
Juice of 2 limes
1 Teaspoon Frank’s hot sauce
¼ Red onion, diced
2 Cloves garlic, minced
1 Teaspoon salt
½ Dry pint grape tomatoes, cut into eighths
1 – 3 Teaspoons cilantro, chopped

First, put the food processor away!!!!  Guacamole should be delightfully chunky with creamy cubes of avocado, juicy bites of tomato and the pungent crunch of onion.  I don’t like it perfectly smooth…it says “I was made from a mix” and not, “I am fresh and delicious!”  Enough of my guacamole rant…let’s just make some…

Step 1

Chop the onion, tomatoes and cilantro and mince the garlic.  Put them into a container or bowl.  Add the juice of 1 of the limes and hot sauce.

Step 2


Now it’s a race against the clock with the avocados.  They brown when they are exposed to the air, but the acid in the lime juice helps to prevent this.  Cut your avocados in half long ways and remove the pits.  Use a large spoon to scoop all the flesh from the skin.  Then large dice the avocado.  Add the pieces to the bowl and squeeze the remaining lime on top of the avocados.  Then sprinkle the salt on top.

Step 3

Mix all of the guacamole together. 


Grab a potato masher like this one (or just use a fork if you don’t have one) and mash the mixture until it is creamy with large chunks of avocado throughout. 


Taste to see if there is enough salt, cilantro (I use a little bit because I am sensitive to large amounts of cilantro) and hot sauce for you.

To serve, I garnished with some extra cilantro and some small diced tomato.

(Guacamole is best served immediately.  If you are storing it, keep it in an air tight container, with plastic wrap pressed directly on top of the guacamole before placing the lid on top.)


These dips are all wonderful.  I was trying to select my favorite.  Each time I thought I had a choice, I tasted another one and that went out the window!  Make one, make all, it's up to you!  But enjoy these simple, flavorful and healthful dips this winter!