Chicken Tikka Masala
My youngest sister, Sarah, my husband, Tim, and I all love to cook, so a couple of years ago, we had Sarah over for a dinner and a movie night, during which we would actually make the dinner. We made a French themed meal and watched Julie and Julia. We had such a blast cooking, eating and watching a movie together that we have repeated the event with different foods and different movies. It’s become somewhat of a tradition and I absolutely love that we all share this passion of pleasing the palate!
When my birthday came around last month, my sister gave me a fantastic present…she gave me a movie on DVD and said we would have another dinner and movie event…food of my choice! What a fun and special gift! I thought long and hard about my selection and finally decided upon my favorite Indian dish, Chicken Tikka Masala. I had never tried my hand at cooking Indian cuisine and thought this would be the perfect time…if we all failed, we would fail together and have a good laugh. But we didn’t fail. Aarti Seguiera’s recipe, with just a couple tweaks, was PERFECT and tasted just like the dish I have tried in multiple restaurants!
I sent some leftovers home with Sarah and my mom, not knowing what it was, tried it and loved it! She’s never eaten Indian EVER, so please don’t be scared away from trying this. It is flavorful, fresh and delicious with just a hint of spice. Here’s how we did it!
Ingredients
Marinade
1 Cup plain yogurt, whisked smooth
3 Tablespoons ginger-garlic paste (recipe below)
1 Teaspoon salt
½ Teaspoon pepper
1 Pound boneless, skinless chicken breasts, cut into 1 – 1 ½ inch chunks
Sauce
2 Teaspoons olive oil
3 Tablespoons butter
1/3 Cup ginger-garlic paste
2 Serrano peppers (seeded according to your spice preference), diced
2 Tablespoons tomato paste
1 Teaspoon garam masala (Indian spice blend found in the regular spice aisle)
2 Teaspoons paprika
8 Roma tomatoes, diced
1 ½ Teaspoons salt
1 to 2 Cups water
1 Red bell pepper, seeded and cut into 1 inch chunks
½ Cup heavy cream
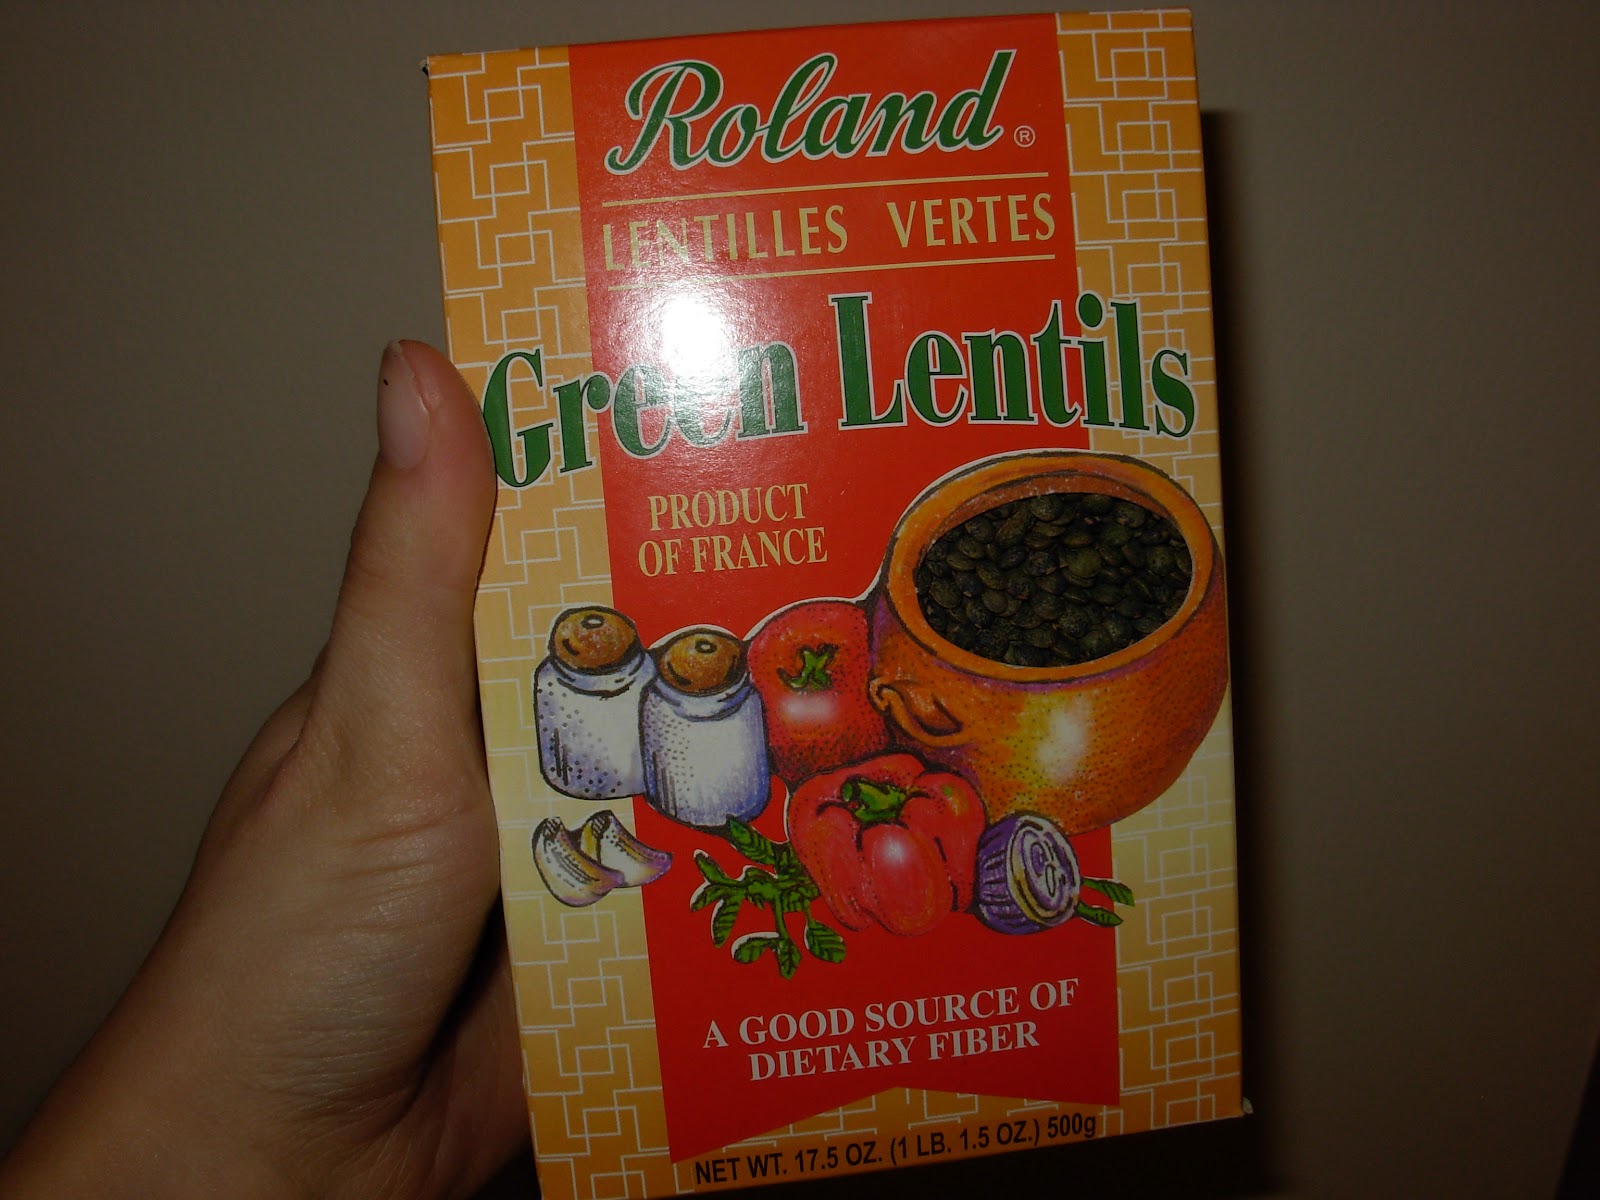
Ginger-Garlic Paste
½ Cup Garlic cloves, whole (I used a little more than 1 bulb)
½ Cup fresh ginger, peeled, and cut into chunks
¼ Cup canola oil
Cilantro for garnish
Cooked basmati rice, naan (Indian bread)…or both if you are us! J
Step 1
The first thing you will need to do is marinate the chicken, and in order to do that, you need to make the paste.
So peel your garlic cloves and throw ½ cup of whole cloves into the small bowl of a food processor.
Then peel your ginger, cut it into chunks, and put ½ cup of it into the food processor. Finally, add your canola oil and process.
Just keep using a spatula to push the mixture down toward the blade periodically and process it until it resembles a paste. Transfer the paste into a jar or container and proceed…
Step 2
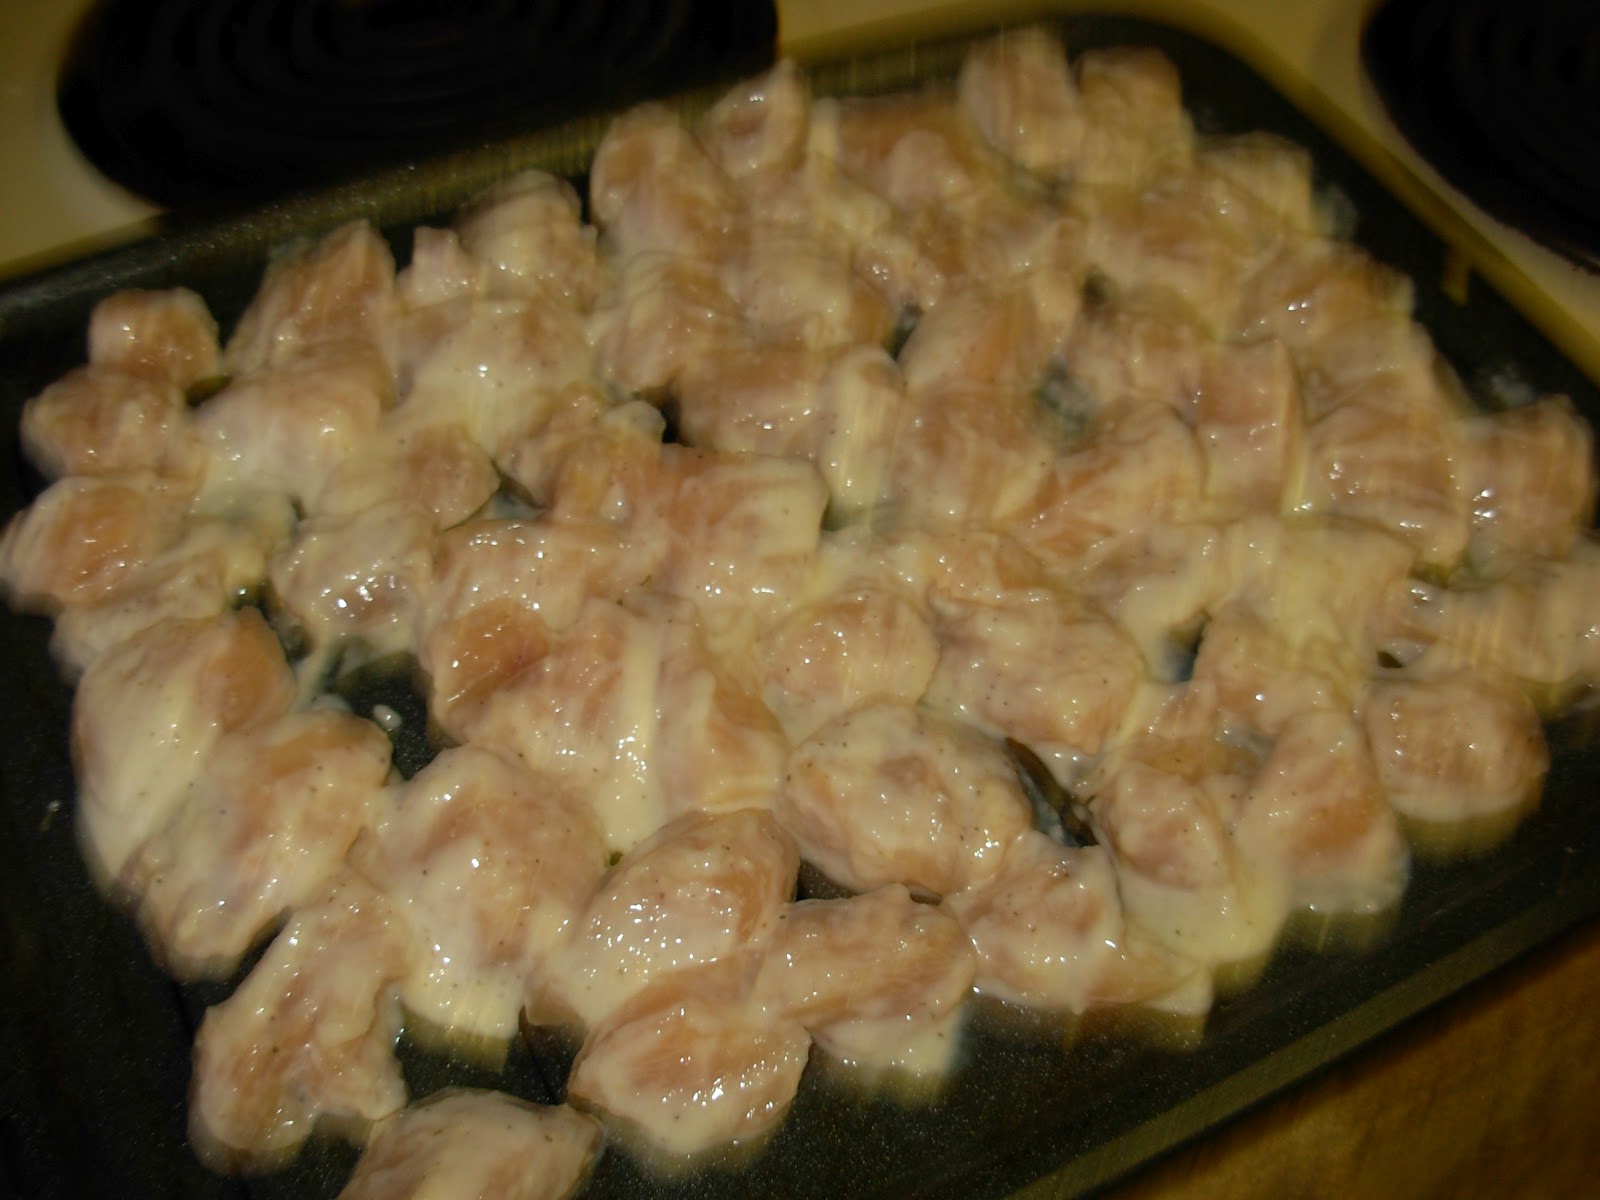
Cut your chicken breasts into pieces. You want them to be large bite-sized chunks.
Whisk the yogurt with 3 tablespoons of the paste you just made as well as 1 teaspoon salt and ½ teaspoon pepper.
Then add your chicken and toss it in the mixture. Cover it and let it marinate in the fridge for at least 30 minutes. While the chicken marinates, you might want to prep the Serrano peppers for later. Just remember seeds = heat and clean your peppers according to your taste! I can kinda handle the heat, so 1 was seeded and 1 was not…okay, I’m a little wimpy…
During the marinating, it’s also a good idea to dice your tomatoes so they are ready once you start your sauce…just looking out for ya…don’t want ya’ll stressed trying to juggle too many jobs in the kitchen at one time!
While you’re prepping (I promise this will be the last thing I make you do while you’re marinating…you can hit the couch soon!), prep your red bell pepper too. Just remove the seeds and cut it into 1 inch chunks. Now you can prop up those feet and open that box of chocolates you have been eyeing…
Step 3
After the chicken has marinated, it’s time to make the sauce. Place a large skillet over medium heat and add the oil and butter. After the butter has melted, add 1/3 cup of the paste and the Serrano peppers. Sauté for about 4 – 5 minutes and then add the tomato paste. Cook this mixture until the red color has darkened (about 3 minutes). Next, add the garam masala and paprika and sauté for another minute.
Step 4
Add the tomatoes, salt and 1 cup of water. Bring the mixture to a boil and then reduce the heat to low and allow the sauce to simmer until it thickens. Let it simmer about 20 minutes.
Sorry about the blurry picture...the chicken was not moving, I was!
While it simmers, turn your oven to broil and broil the chicken pieces until they brown a little on the first side, then turn them to let them brown on the second side. It took 5 – 7 minutes per side for us. Then just remove them from the oven and let them sit for awhile…they aren’t going anywhere. J
Step 5
Pour the sauce into a food processor, blender or use an immersion blender and make it velvety smooth…or close to it. Pour the sauce back into the skillet, or put it into a pot like we did and, if you are making rice set it aside…if you’re not, ignore me and move on to Step 7…or just ignore me anyway and do your own thing…it’s your call!
Step 6
I’m no rice expert, so we used 2 cups of uncooked basmati rice and cooked it according to package instructions, with these modifications. We sautéed the uncooked rice in a little olive oil just to make it a little nutty. While it was sautéing, we added a little bit of the leftover paste to the rice. Then, after 3 minutes, we added chicken stock in lieu of the water. When the rice got to the point where we were to cover it and let it simmer, we proceeded with the sauce…
Step 7
Bring the sauce back to a boil, reduce the heat to medium low and add the chicken and red bell peppers. At this point, I added about 1/3 cup of water because the sauce was a little thick. Let it simmer for 10 minutes, or until the rice has cooked. When your rice is ready, add the cream to the sauce and stir. Then spoon some rice onto your place with a nice helping of the aromatic sauce with the delicious chicken bites and bell peppers on top. I garnished it with some cilantro and served it along with some store-bought (come on, it’s already been a seven step recipe! J) naan.
I hope you like this as much as we did! I was so impressed with our first attempt at Indian food! Have fun making it and enjoy!